Replacing Cable TV, Netflix, and Spotify With HDHomeRun, Jellyfin, and Volumio

There are a myriad of reasons to drop TV subscriptions and video apps, but it's hard to know where to start to create your own. It's much, much easier than you think and cheaper than you'd imagine. However, it does take a little work and a bit of tech reading. This should make it all a bit simpler to navigate.
What Are We Building?
It's important to start with the end in mind. In that spirit, it helps to do most of the thinking and planning ahead of time, as 90% of the battle is in having it all down on paper.
Here's our example setup and goals in this experiment:
- 5 flatscreen TVs or set-top boxes (STBs) in different rooms;
- 2-3 laptops and 3-4 phones which can connect to the Wifi;
- All of which can be connected via Wifi or Ethernet to the local area network (LAN).
- No paid subscriptions to anything. Entirely free.
- No connection to Big Tech whatsoever.
The TVs are likely to be running Roku, Fire TV, Samsung, Apple TV, Android TV, or Chromecast. The phones are going to be iOS and Android. The laptops are likely to have web browsers.
We want them all to be able to:
- Watch live TV simultaneously, and
- Stream movies and shows individually from home storage.
Crucially, we want Big Tech out of all of them and for the entire thing to run offline without any connection to the Internet.
We're going to get rid of the cable subscription and remove everything like Netflix, Prime, Hulu, Vudu or Spotify.
Prerequisites
All of this assumes you have an existing Wifi setup. You will need:
- A Wifi router with at least 4 free LAN ports;
- An outlet tower or multi-plug power strip with at least 6 inputs (e.g. https://www.amazon.com/gp/product/B07PT3M78R).
For advanced users, MikroTik is an excellent choice due to its low price-point and RouterOS software: https://www.amazon.com/s?k=MikroTik
If you don't have an upstream cable connection, you can use a 5G LTE router with a SIM card to connect to a cellular network: https://www.amazon.com/NETGEAR-LTE-Broadband-Modem-LM1200/dp/B08R813HLW ($110.00)
If you can only connect to someone else's Wifi network but need Ethernet, you can use a travel adaptor as a "bridge" to create an upstream connection: https://www.amazon.com/gp/product/B07712LKJM/ ($50.00)
To create extra LAN ports, you can plug a simple switch into your router: https://www.amazon.com/gp/product/B00A121WN6 ($20.00)
First Up: Powerline Ethernet In Each Room
You can run cat-6 ethernet all over your house under the basement if you want, but you're going to be drilling a lot of holes in walls and need cable insulation to protect from rodents.
If you have a cable or DSL modem, its placement in your house is going to be crucial.
A much better alternative is Powerline Ethernet. These small, cheap wall outlets create a peer-to-peer computer network over your electric wiring.
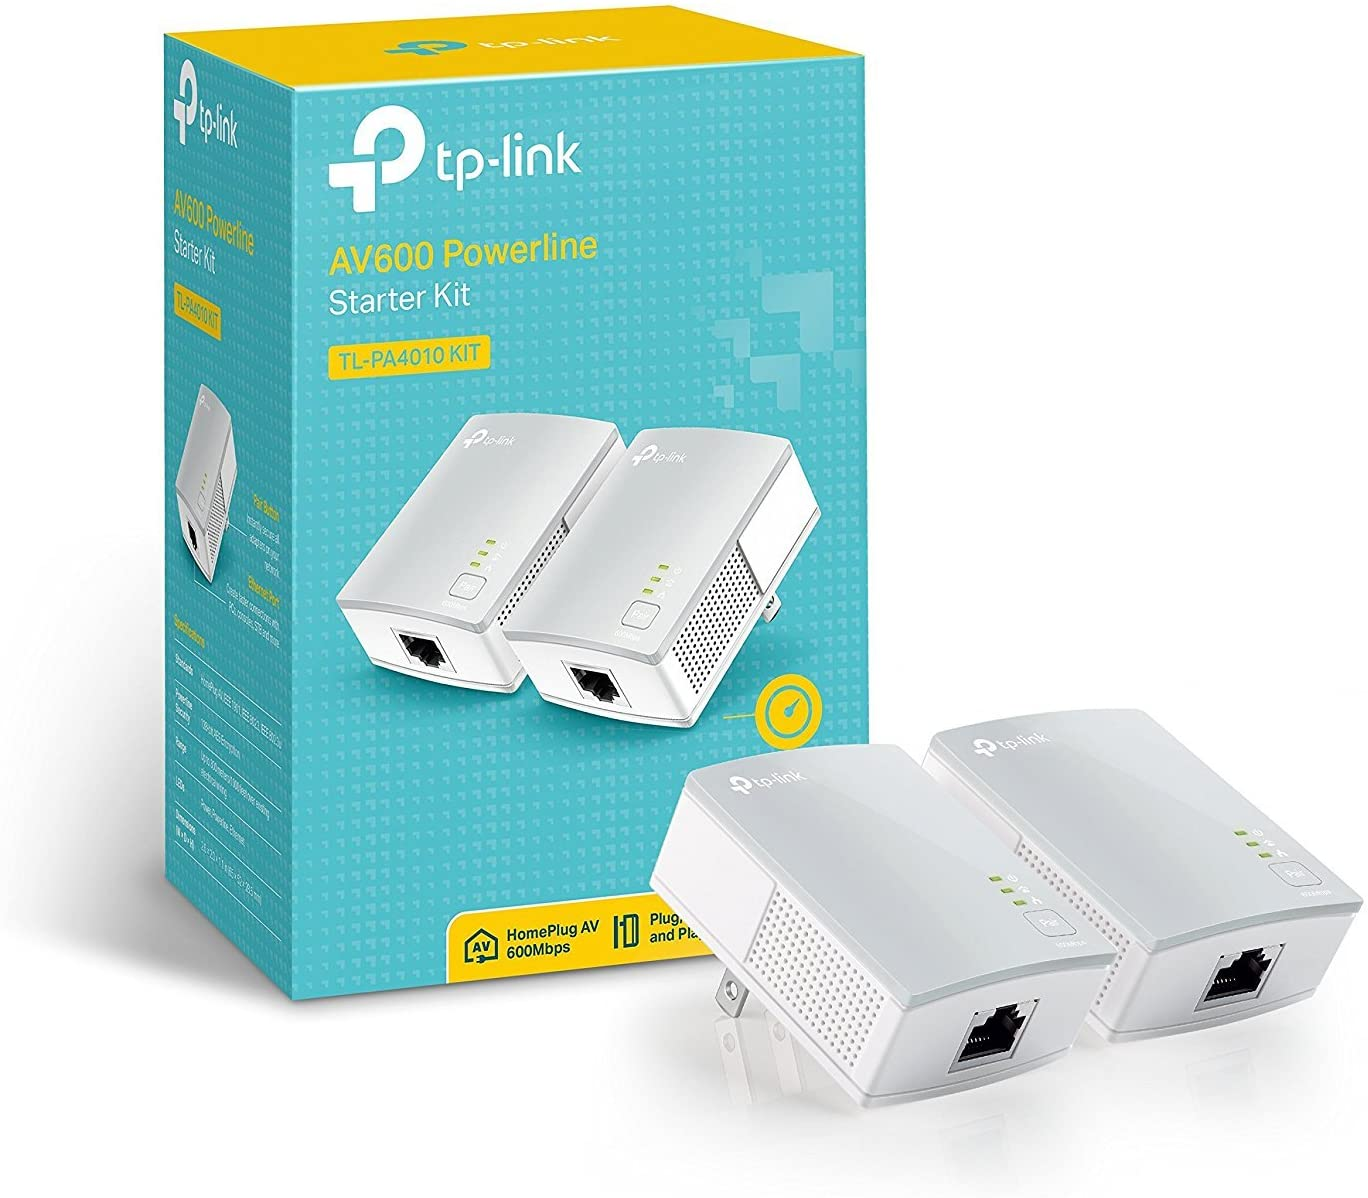
TP-Link AV600 Powerline Ethernet Adapter: $37.99 (pair of 2)
https://www.amazon.com/gp/product/B00AWRUICG/
https://www.tp-link.com/us/home-networking/powerline/
The first of these goes into your Wifi router. The others go into the different rooms. It's crucial to understand how Powerline Ethernet works: it "pairs" like Bluetooth does via a button on its front. The three green lights mean:
- Powerline network connected;
- LAN TCP/IP network connected;
- Internet connection available;
Not all outlets are created equal. It's crucial to check and speed-test each one to ensure they are connected properly.
Some gotchas:
- Some wall plugs just don't work. Don't sweat it. Plug them into another outlet.
- The older the electric wiring, the slower and more troublesome the connection.
- Your home might have multiple electricity circuits. Check.
- Units do not automatically pair. You must manually pair them;
- Plug them directly into the wall. Do not plug them into outlet boards;
- Do not expect cat-5/cat-6 speeds. You don't need that anyway.
Plug an Ethernet cable from each TV into the powerline adaptor in the wall, and switch to Ethernet connection. Test them all. Check the router's admin software to make sure they all have IP addresses and can play Internet content fairly well.
The Head-End: A Mini-PC In The Cupboard
The next thing to connect to the router is a mini-PC. There are many of these to choose from, but they all cost around $200-500. This thing is going to be on all the time, 24hrs a day, so it needs to have an SSD hard drive (not magnetic tape) and be as durable as possible.
And it needs to be fanless. The last thing you want is constant fan-hum at 3am.
You do not need a monitor, keyboard, or mouse. Just borrow them from another computer.
Note: a Raspberry Pi is an obvious choice here but it won't work. The Pi is not designed to do this job. The Pi reboots itself randomly and does not have the power supply needed for the storage we'll be using later, nor the CPU power for real-time transcoding.
Zeelink is a great choice. 8GB RAM, 128GB SSD hard drive, 1.8GHZ CPU, lots and lots of inputs.
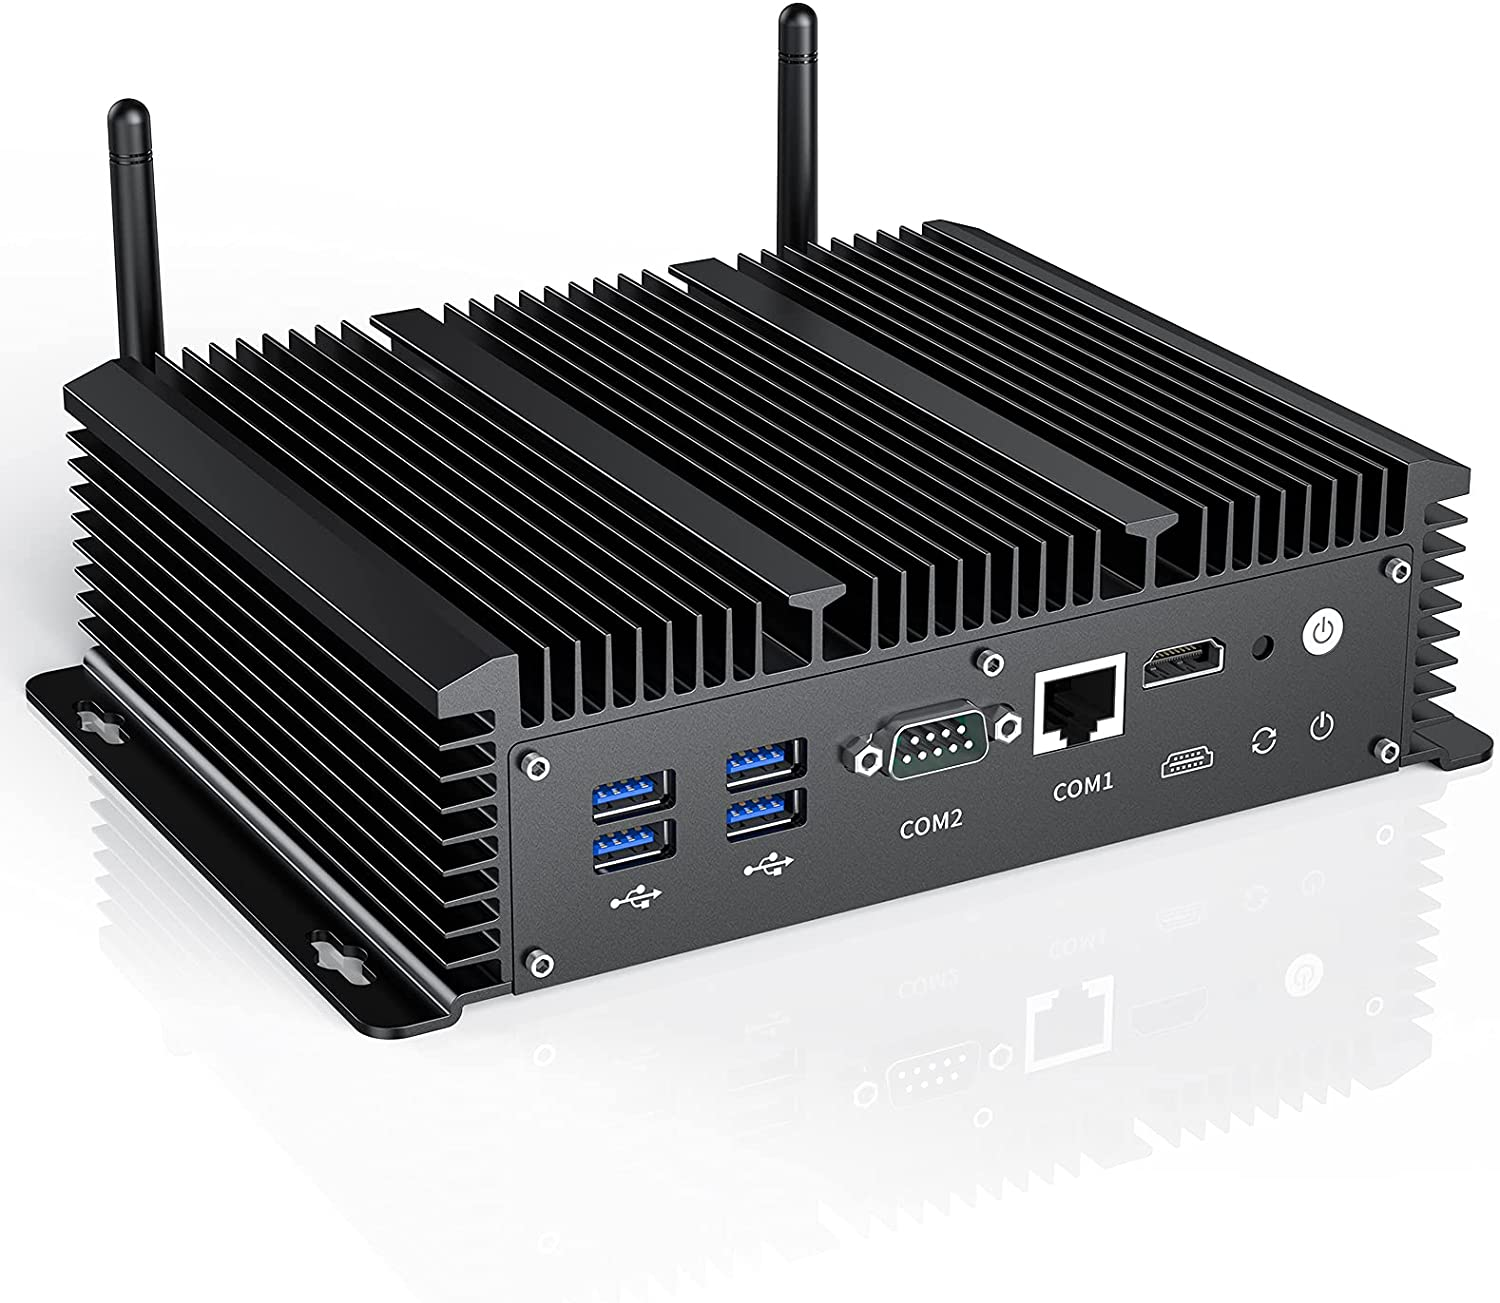
Fanless Mini PC, ZIEENC Industrial PC Intel Celeron 3865U Dual Core, 6GB RAM 128GB SSD, Firewall Appliance, VPN Router, AES-NI, Micro PC Dual Core Desktop Small Computer with 6 Gigabit Ethernet NIC
https://www.amazon.com/gp/product/B098SYT4ZQ ($350)
After you have it unpacked and connected in with an HDMI monitor, keyboard, mouse, and network connection like any other PC, it's time to fix it up.
Get rid of Windows and install Ubuntu or Mint on it. You'll be thankful later.
Copy a bootable version of either of these and burn it onto a USB thumb drive. Plug it in, boot it up, and follow the instructions.
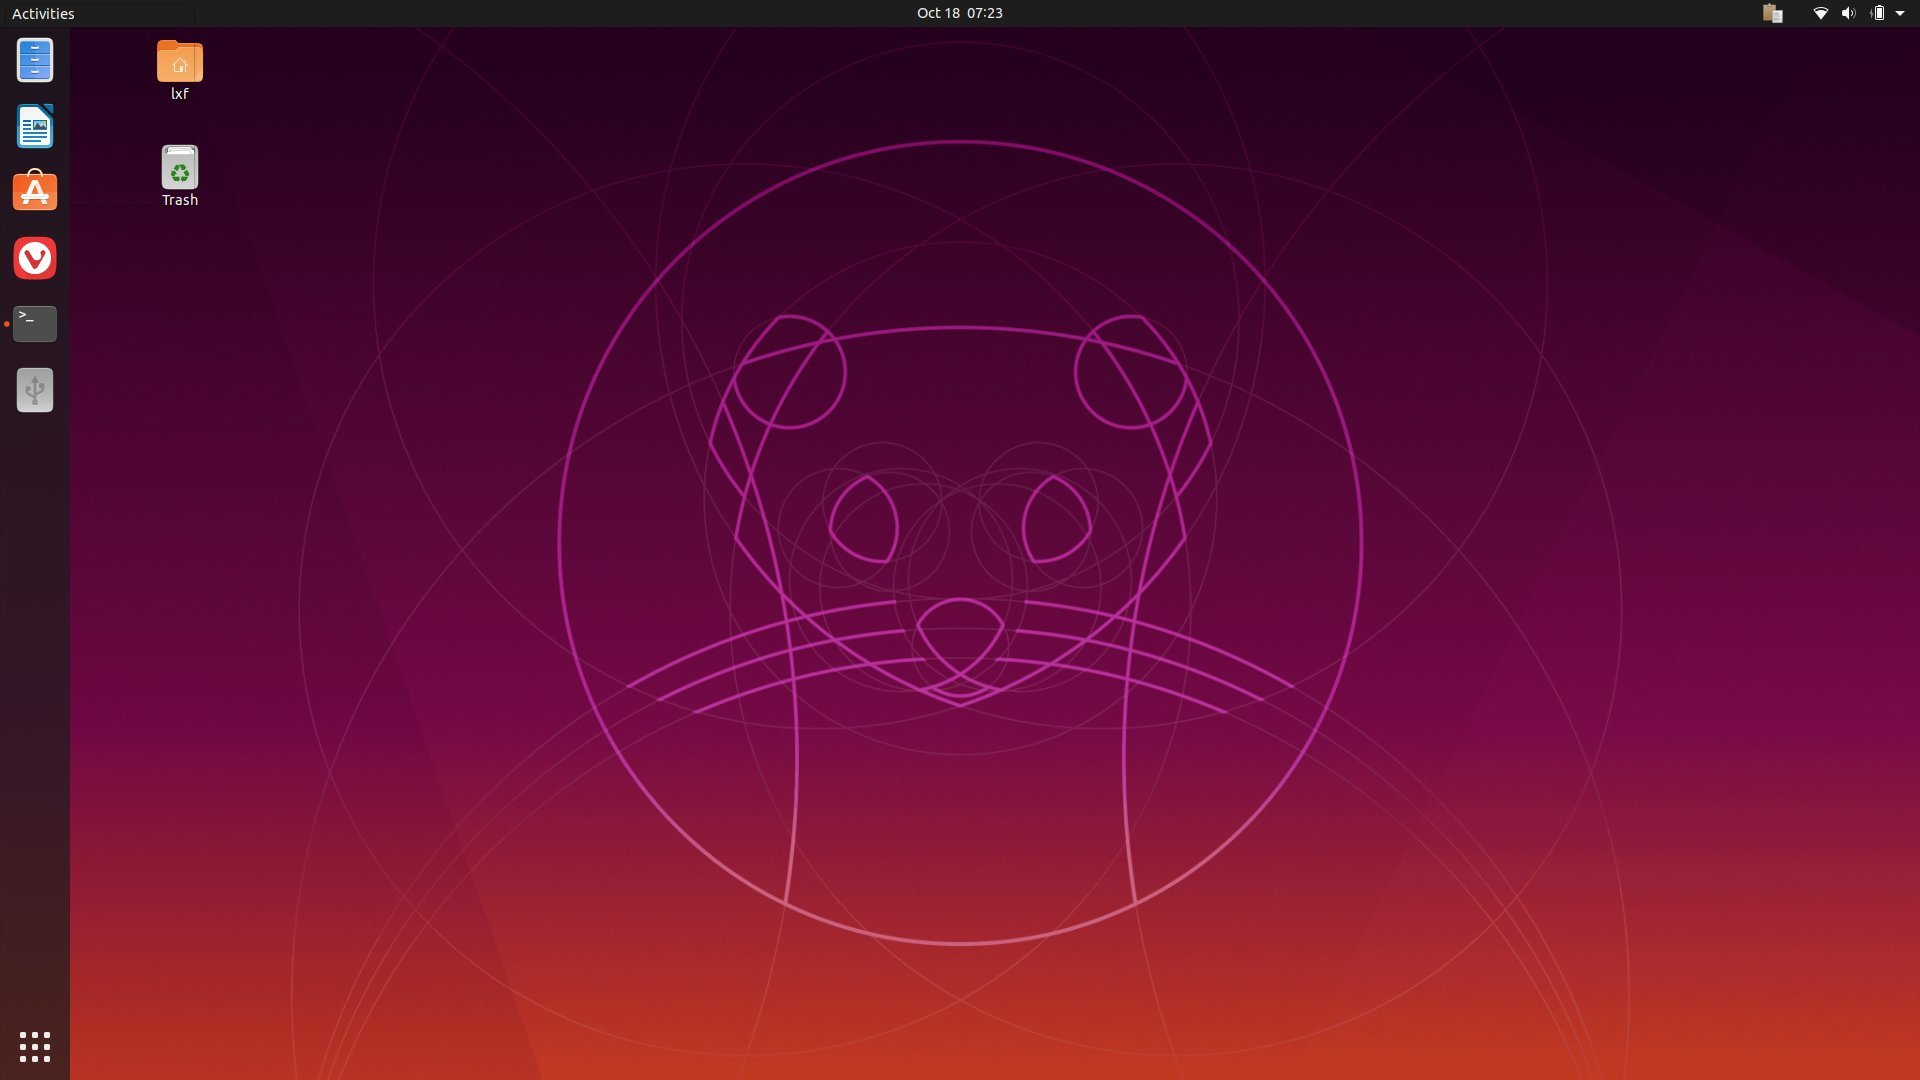
https://ubuntu.com/tutorials/install-ubuntu-desktop#1-overview
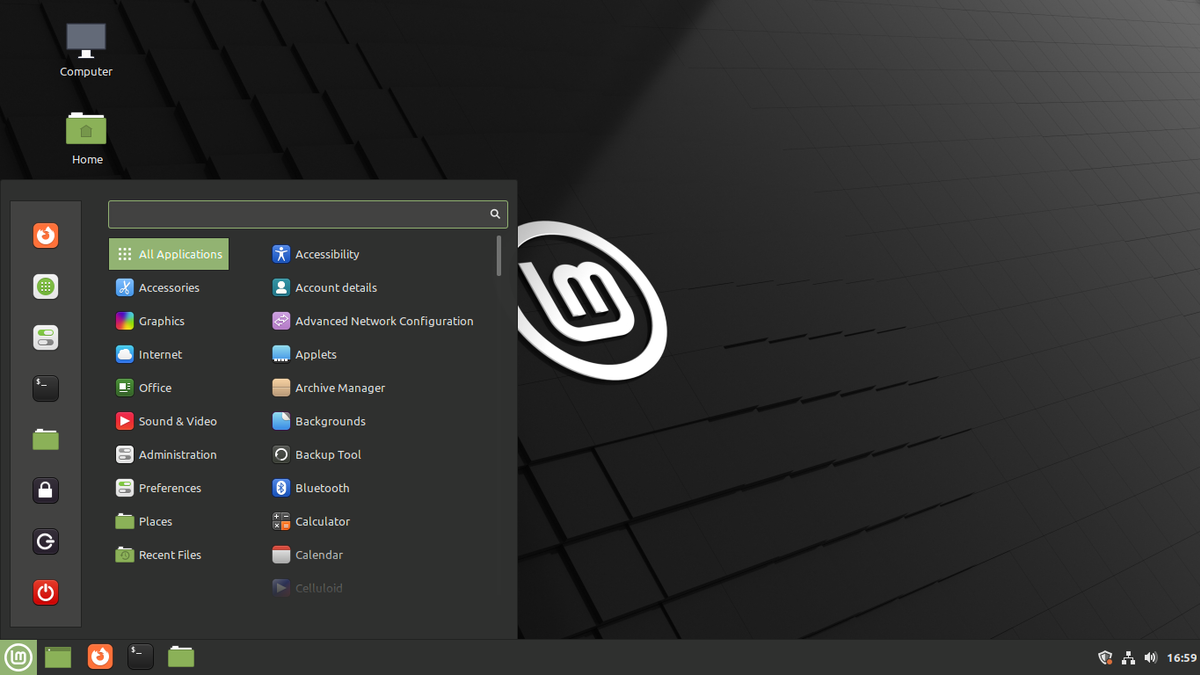
https://linuxhint.com/install_linux_mint_19/
This isn't half as hard as it sounds. Just nuke whatever is on the mini-PC already, and click away. You're done.
Live Antenna TV: Over-The-Air (OTA) Free TV Channels
As everyone in Europe already knows, cable isn't the only way to get TV. You can do it with an old satellite dish (e.g. Freesat in the UK), or via old-school antenna aerial broadcast. Many of these can be found on NoCable: https://nocable.org/
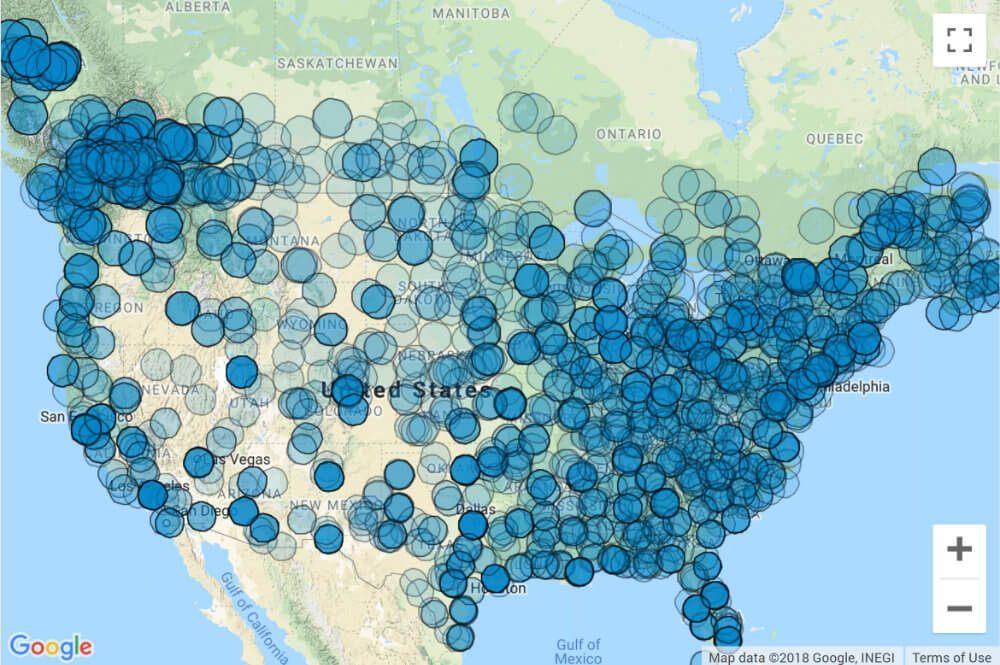
If you're in the US, you can look up your nearest broadcast stations using the FCC's map (https://www.fcc.gov/media/engineering/dtvmaps) or via AntennaWeb: https://www.antennaweb.org/ .
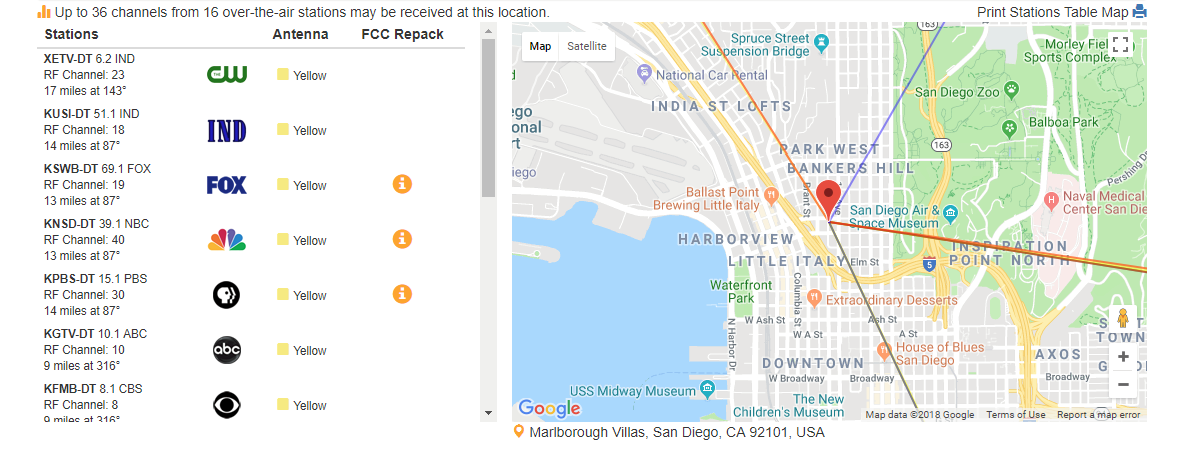
Moreover, there are a bunch of free phone apps which can use your GPS and bearing to line up where the best signals are, right from the palm of your hand:
The best of these is Antenna Point:
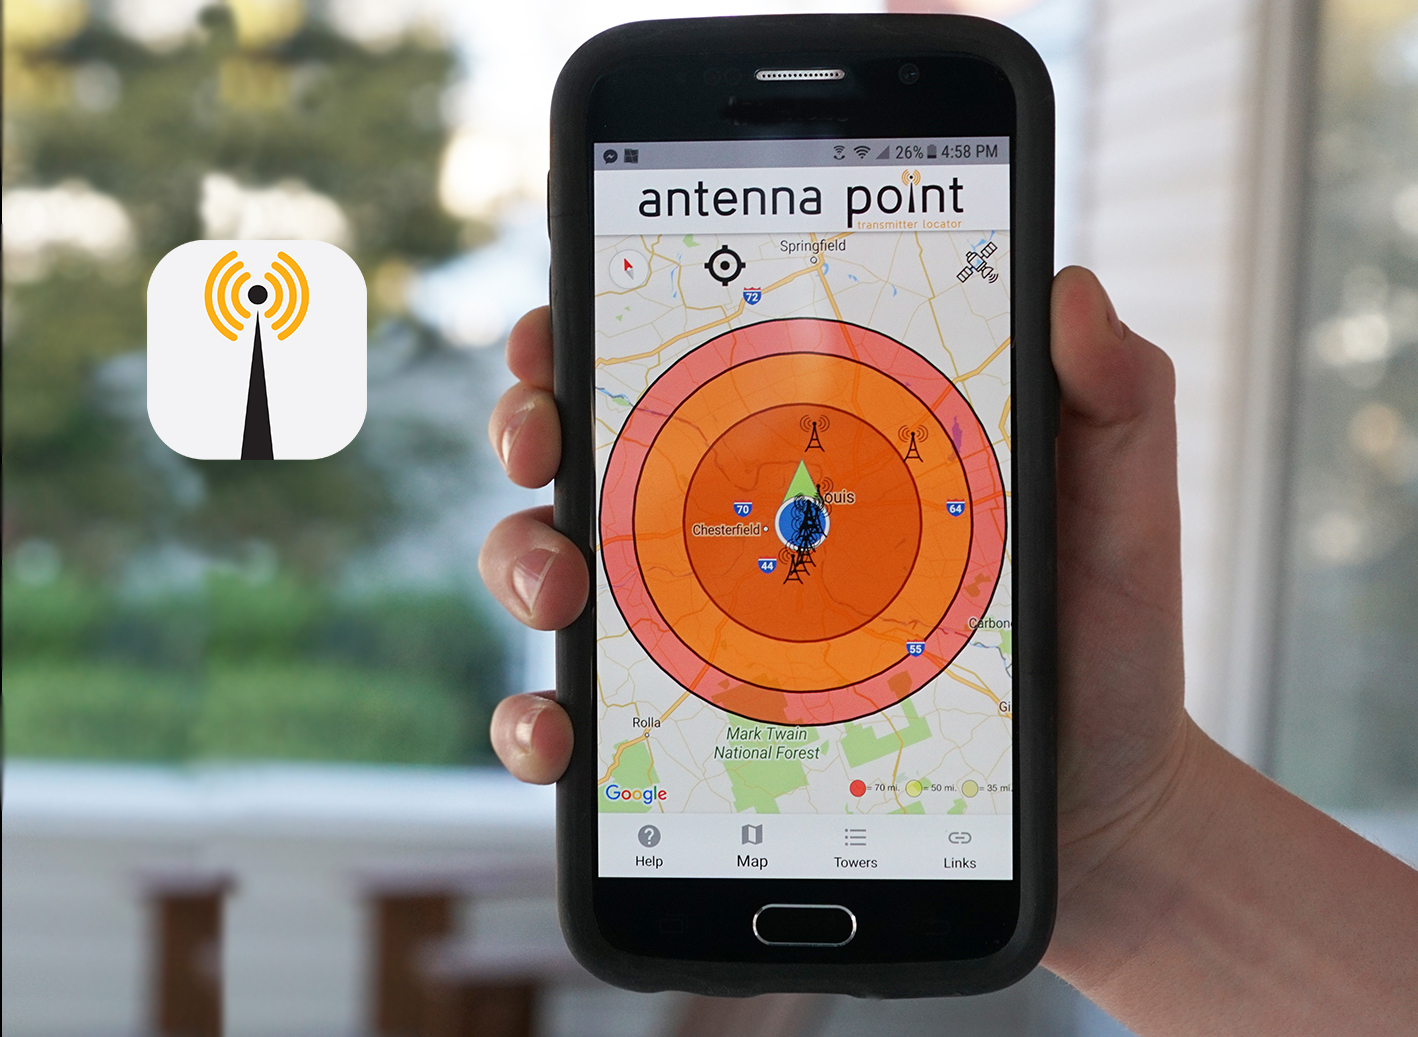
- https://www.antennasdirect.com/transmitter-locator.html
- https://itunes.apple.com/us/app/antenna-point/id1275602201
- https://play.google.com/store/apps/details?id=com.antennasdirect.antennapoint
Obviously you are going to need an antenna. There are many to choose from, and you're probably going to have to build and install it yourself.
Matis is a popular choice, and comes with a power-over-cable remote control for rotating the head 360 degrees:
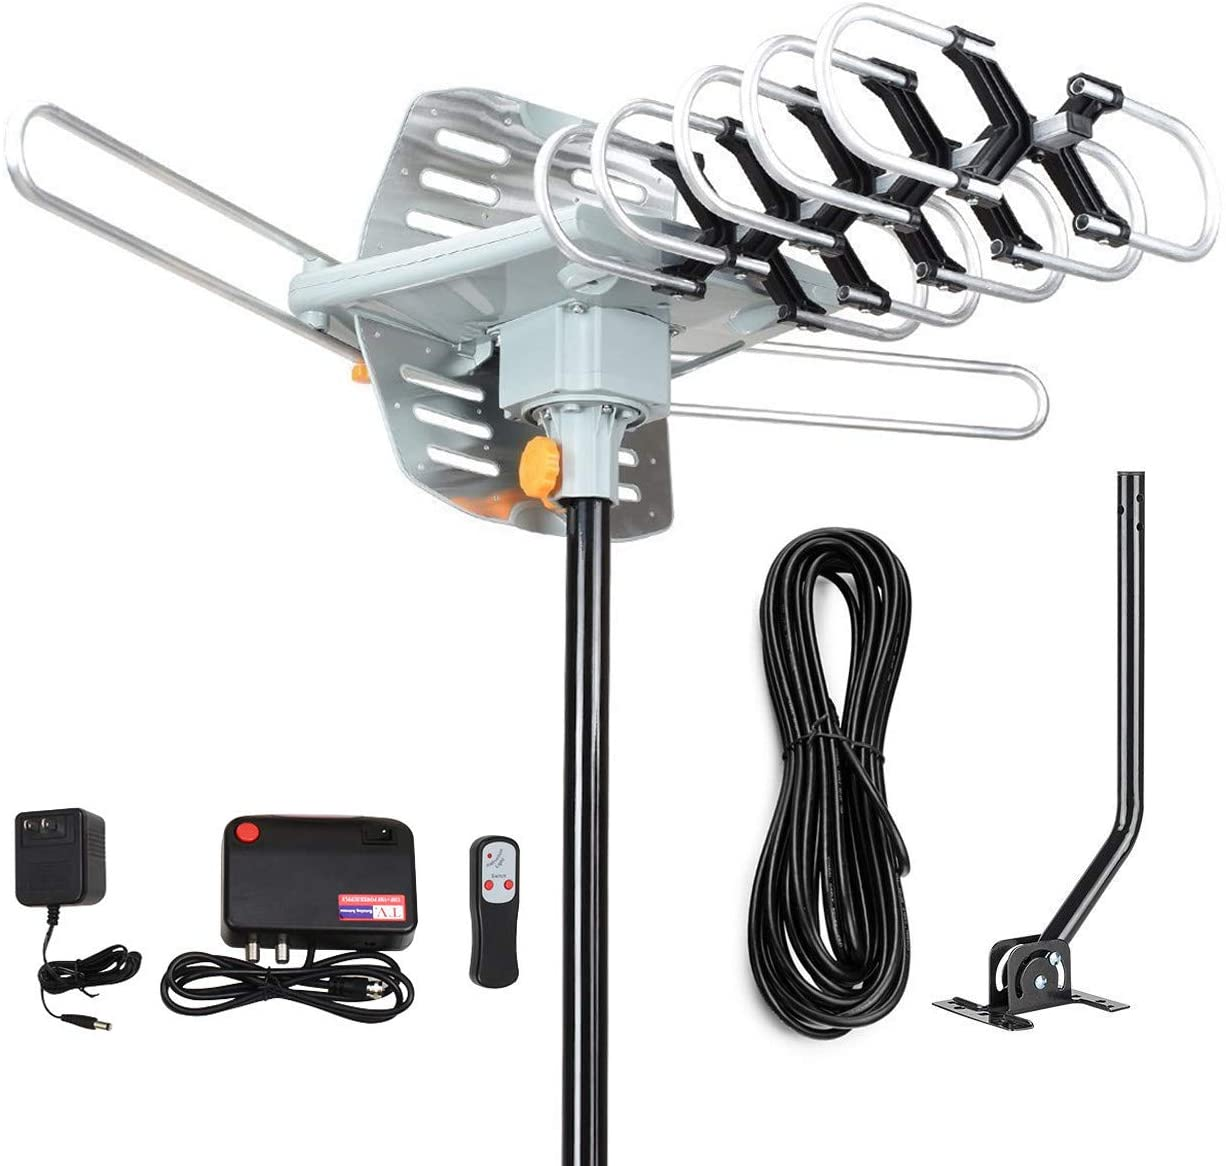
Digital Outdoor Amplified hd tv Antenna 150 Miles Range,Support 4K 1080p and 2 TVs with 33 ft Coax Cable,Adapter,mounting Pole
https://www.amazon.com/gp/product/B08LL8HQGS/ ($48.99)
If you can't nail this to a wall or are concerned about wind, you can get a standard telescopic mast pole attachment for digging into the ground which can be secured with a metal plate or tent-pole style ropes: https://www.amazon.com/dp/B010GAQ3K4 ($250.00).
You don't need any specialist knowledge to put up an antenna. Just get it as physically high as you can, away from obstructions, secure its base, and point it at the transmitter where Antenna Point indicates. That's it.
We have a problem here though. Even though you could use splitters, the antenna can only be plugged into one TV at a time, and will probably be in a different position of the building than your modem.
HDHomeRun: Live Streaming VHF Video Over Wifi
Silicon Dust's HDHomeRun is a small router-type box which converts TV signals from an antenna or standard cable install into live streaming video. It has 4 tuners inside, meaning 4 TVs can stream 4 different channels at once.
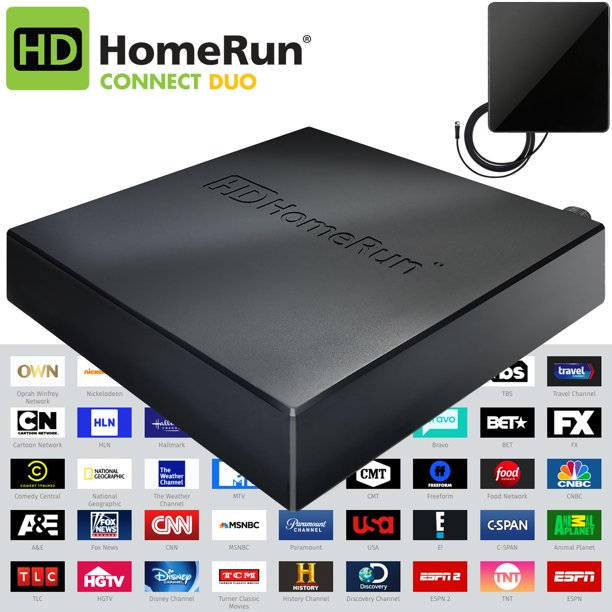
- https://www.silicondust.com/
- https://www.amazon.com/SiliconDust-HDHomeRun-Flex-ATSC-NextGen/dp/B092GCN9NL ($200.00)
It's not particularly sexy, but it does what it says on the tin. You plug in a TV aerial, and an Ethernet cable.
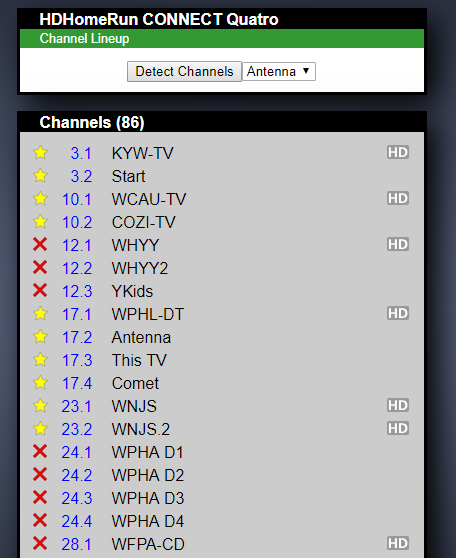
Next to the mini-PC, you plug this baby in and connect it to the router. It has a simple (ugly) web admin interface which you can use to auto-scan the channels being picked up by the aerial.
For developers, it also has an API: https://info.hdhomerun.com/info/http_api
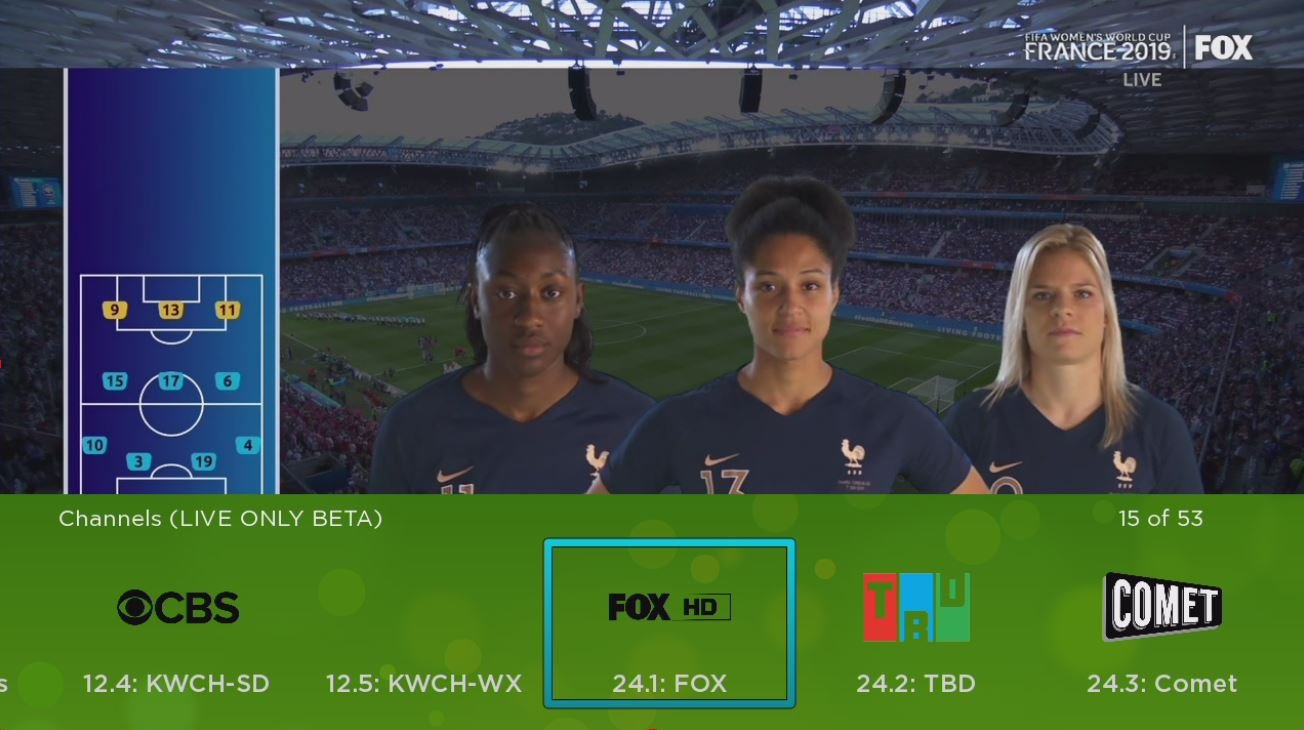
Once it's detected your channels, you can install the official client app on your smart TV easily. It has apps and integrations for most major platforms.
- Windows
- Apple
- Roku
- Fire TV
- Kodi
- Emby/Jellyfin
- InstaTV
- Channels
- Plex
However, HDHomeRun has some gotchas:
- The TVs MUST be on the same DHCP network. You cannot connect different networks together on the same subnet or use extenders.
- It uses multicast to auto-detect devices and you cannot specify an IP address to connect to, as you can with other software;
- The electronic program guide (EPG) and admin UI are seriously ugly;
- The company have had some legal troubles with their premium service.
According to their tech support, this is the reason for the networking specificity:
Discovery of the HDHomeRun is done via broadcast/multicast packets that don't cross routers. Even when different media are in use (ethernet/wifi/powerline/etc.) you should still be able to operate the network within a single subnet and thus allow for use.
In the case of routers that are being used as wifi APs, depending on the router there will usually be some sort of option for "access point mode" or "bridge mode" that will turn off the routing function and just pass all the traffic through on the same network. Your primary router would act as a DHCP server and assign IPs to everything and it would all be on the same network.
If the router doesn't have a dedicated mode like that, you can achieve the same thing by just disabling the DHCP server and connecting the cable that links it to the main router to one of the LAN ports instead of the WAN port.
In terms of using a VPN to circumvent these troubles:
Change everything so that routing is only done by the primary router, and everything else is just a bridge. Multicast should work in this configuration, give or take devices programmed by stupid people that implement multicast wrong.
From the HDHomeRun's perspective, there are 2 viable methods for handling multicast. First is to actually implement it properly, where the device monitors IGMP and tracks what devices are where and joined to what groups, and forwards multicast packets only to the appropriate ports to reach those devices.
Second is to basically ignore multicast entirely and just treat it as broadcast and forward it everywhere. The problem with some devices is that they try to track and limit forwarding and do it wrong.
The multicast traffic is using SSDP, which uses a multicast address that is defined as the local scope. The exact behavior of this has some flexibility from one implementation to the next, but most routers just treat it as a range that is specifically not routed. The broadcast traffic uses the subnet broadcast address, which definitely would not be routed.
Would not recommend trying to deal with VPNs at all for this application, much less internally. It's just complexity for the sake of complexity.
Movie/Music/DVR Storage: NAS vs USB
You don't want to merely watch TV, you're going to want to record it. You probably have large collections of movies and music you want each TV to have access to.
First, you need to work out how much storage you're likely to need - now, and for the next 5 years. It's going to be much more than you expect. 1000 movies are going to need at least 5TB.
Generally speaking: File Size in MB = (Bitrate in kbps x Playing Time in minutes) / 140.
- A single 720/1080p HD movie is likely to be around 800MB - 1.2GB.
- A decent single 4K movie in HEVC is likely to be 2 - 6GB.
- A single 1080p BluRay 4K movie is likely to be 12 - 40GB.
- A single UHD movie could be up to 70GB.
- A season of 24 TV episodes in HD is likely to be 20 - 40GB.
- A music album may be up to 100MB.
We can extrapolate library sizes thus:
- 100 albums = 10GB
- 270 movies = 3TB
- 2800 movies = 11TB
All in all, you are probably going to need 5 - 20 TB of storage. This isn't as much as it sounds. A single SD card can carry 256GB.
The proper, professional way to do this is to use Network Attached Storage, or a NAS. A NAS is a special enclosure which houses multiple hard drives in a row and supplies its own surge-protected power to each. You can think of it as an external hard drive which you plug into the LAN, rather than using a USB plug.
It's like your own private cloud.
The most popular is the Synology Diskstation.
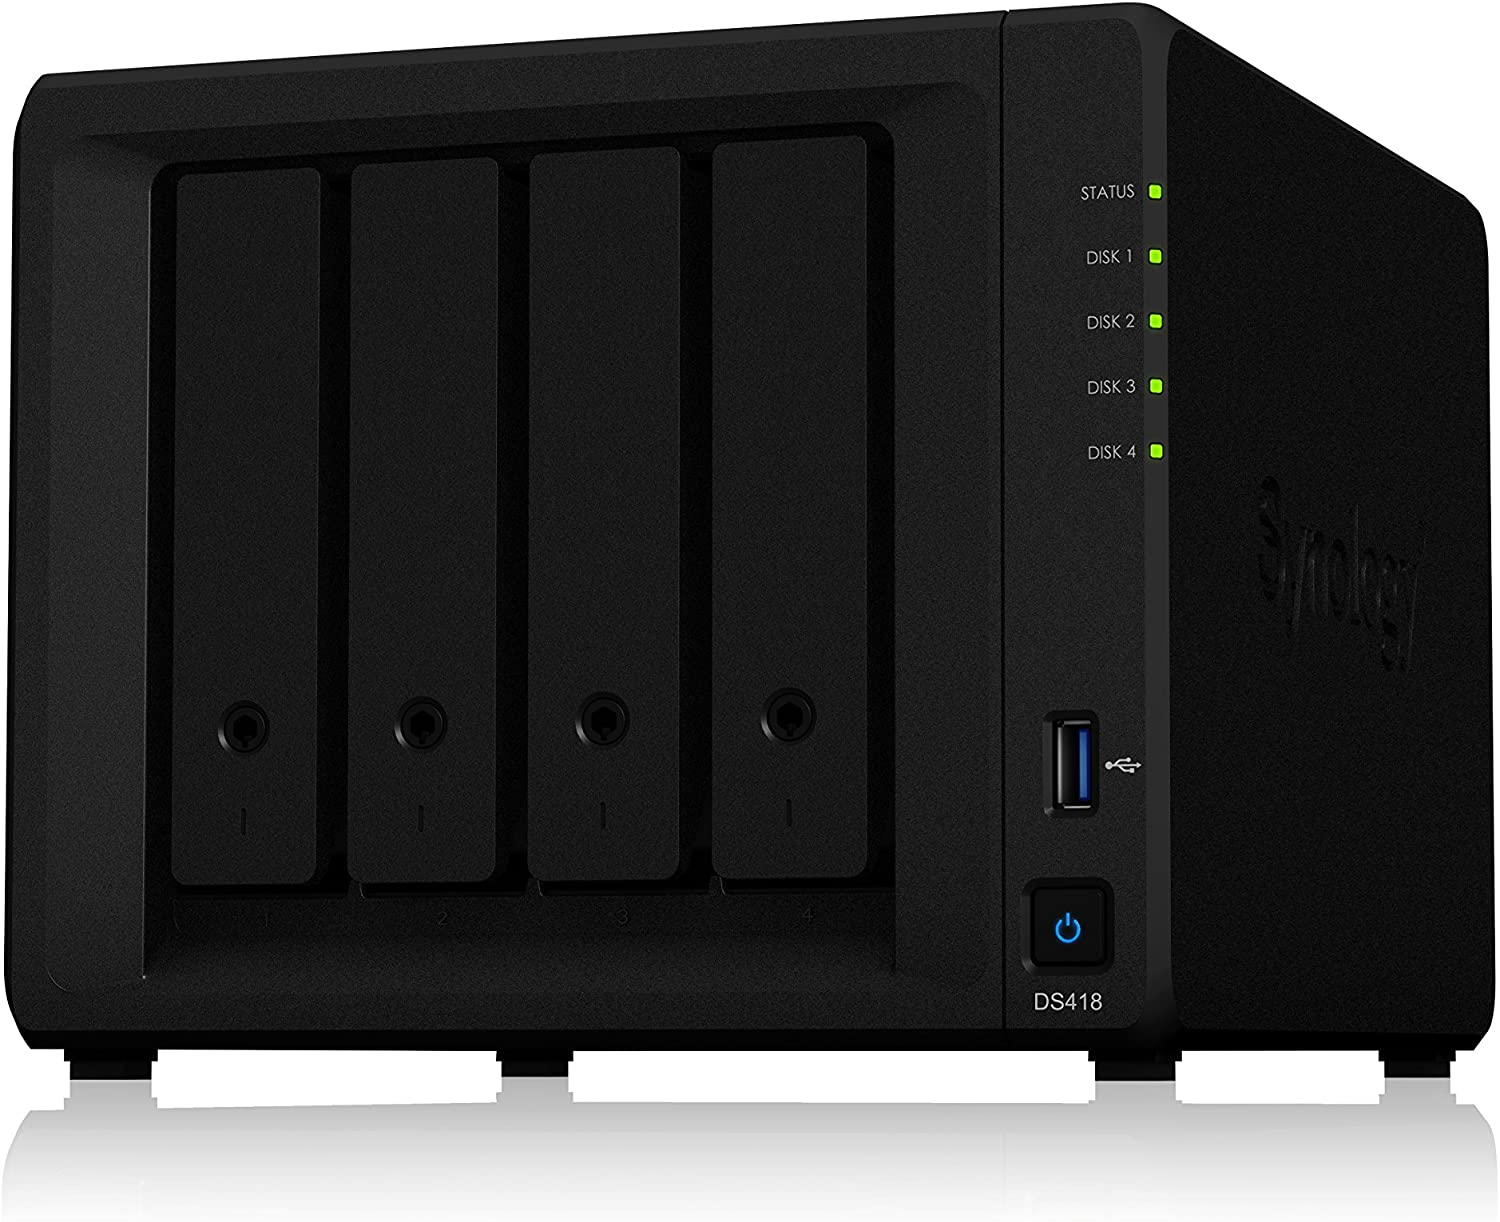
Synology 4 bay NAS DiskStation DS418 (Diskless)
https://www.amazon.com/Synology-bay-DiskStation-DS418-Diskless/dp/B075N17DM6 ($370.00)
Important: you need to buy the hard drives separately. It does not come with hard drives inside.
To get 24TB of storage, you could buy 4 x 6TB hard drives and install each:
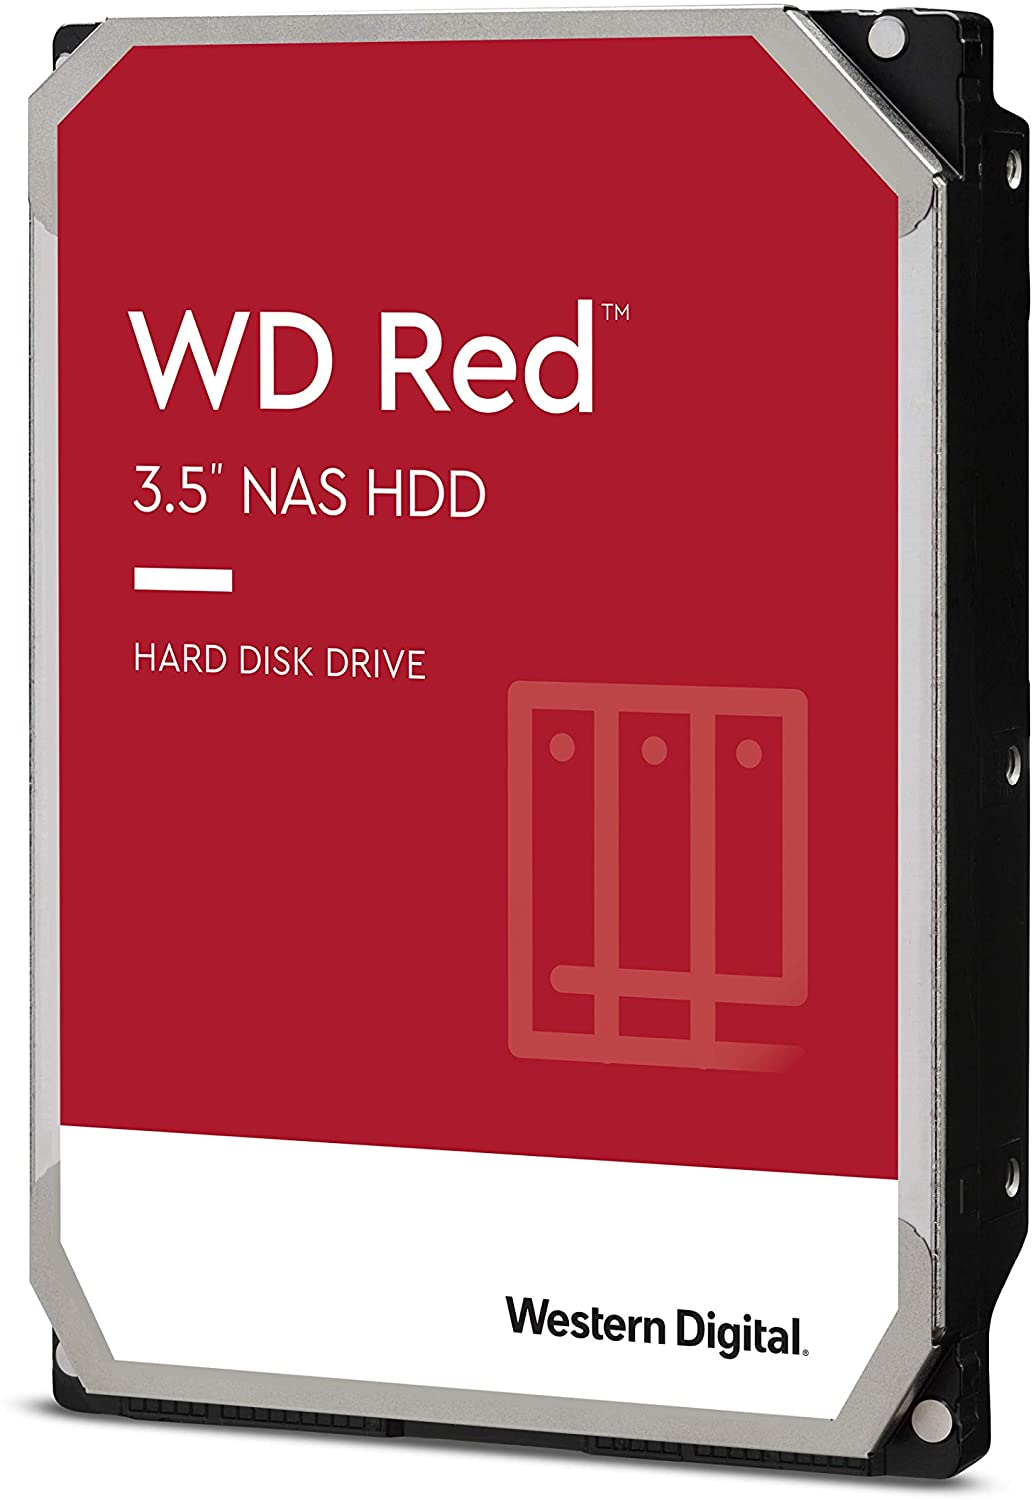
Western Digital 6TB WD Red NAS Internal Hard Drive HDD - 5400 RPM, SATA 6 Gb/s, SMR, 256MB Cache, 3.5" - WD60EFAX
https://www.amazon.com/Red-6TB-Internal-Hard-Drive/dp/B07MYL7KVK/ ($125.00)
Simply plug in each drive, and away you go. For developers, you can simulate Amazon's S3 blob storage using Minio (https://min.io/).
Why would you do this? Because hard drives fail. A lot. And easily.
And if you don't have this kind of FU money, an alternative is high-performance SSD USB external hard drives. An excellent choice is the 5TB Western Digital Game Drive:
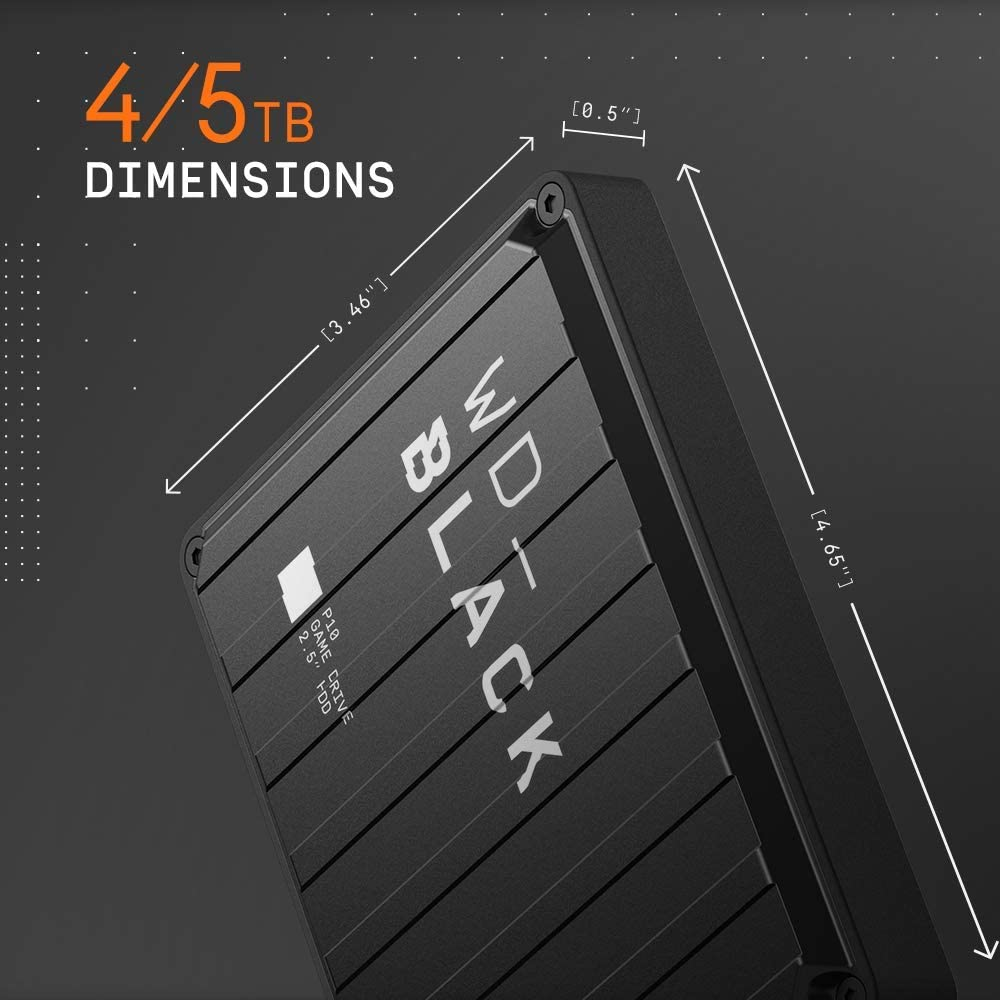
WD_BLACK 5TB P10 Game Drive - Portable External Hard Drive HDD, Compatible with Playstation, Xbox, PC, & Mac - WDBA3A0050BBK-WESN
https://www.amazon.com/dp/B07VNTFHD5 ($150.00)
Adding 4 of these can get you 20TB of portable storage. However, you must use a USB with external electric power as a NAS would (e.g. https://www.amazon.com/gp/product/B07G8CMR18/). PCs are not capable of supplying the amount of power these things need. A Raspberry Pi cannot even cope with the voltage of a single drive this big.
The last stage is ensuring your storage has the right kind of filesystem. There are usually a few standard choices:
- HFS+ (Apple)
- FAT32 (Windows)
- ExFAT
- NTFS (Windows)
- UFS (Linux)
- EXT4 (Linux)
Why do you care? Because you're dealing with a LOT of files. And they're big. Speed and reliability matters here. It's dull, but it's important. These aren't word docs. You're streaming and transcoding off a disk and it's a high-intensity thing to do; particularly with 5-10 users at once.
Most external hard drives come with FAT32. This is bad because FAT32 cannot deal with files over 4.4GB in size. Your movies are likely to be at least this or more.
There's lots of boring reading to do on this, but if you're using Mint or Ubuntu, opt for EXT4 and a drive which has SMART diagnostic capability (https://en.wikipedia.org/wiki/S.M.A.R.T.). The drive will go wrong. It's not a case of it, but of when.
Assuming you can get in via SSH (if not using a monitor), it's trivial to work with external hard drives in Linux. When a device is inserted, it will be "mounted" file system as /dev/sd[X] (where "X" is a sequence from A-Z). Each partition you make is labelled 1-9.
- /dev/sda --> computer's internal hard drive (partition 1 is /dev/sda1)
- /dev/sdb --> USB drive 1 (partition 1 is /dev/sdb1, partition 2 is /dev/sdb2)
- /dev/sdc --> USB drive 2 (partition 1 is /dev/sdc1, partition 2 is /dev/sdc2)
- /dev/sdd --> USB drive 3 (partition 1 is /dev/sdd1, partition 2 is /dev/sdd2)
- /dev/sde --> USB drive 4 (partition 1 is /dev/sde1, partition 2 is /dev/sde2)
# List all attached devices
sudo lsblk -o UUID,NAME,FSTYPE,SIZE,LABEL,MODEL
sudo fdisk -l

# Erase/format to EXT4
sudo mkfs.ext4 /dev/sdb

# Give the disk partition a name
sudo e2label /dev/sdb "MY_NEW_DRIVE"

# Add a local share point and mount
sudo mkdir /mnt/my-new-drive
sudo /dev/sdb /mnt/my-new-drive
Once the device is formatted, you can "map" it to an internal folder (e.g. /mnt/my-new-drive) and browse its files like it's part of the computer itself. If you share this folder on the local network using SAMBA (https://www.techrepublic.com/article/how-to-set-up-quick-and-easy-file-sharing-with-samba/), any computer can read and save files onto it.
To get it "mapped" and "mounted" after a restart, you need to tell Linux what to do via it's internal filesystem configuration (/etc/fstab):
# open the file
sudo nano /etc/fstab

# Add this:
UUID=this_is_your_hdd_uuid /mnt/my-new-drive ext4 rw,nosuid,dev,noexec,noatime,nodiratime,auto,nouser,async,nofail 0 2
Sometimes things go wrong with fstab. When they do, the mini-PC might not boot. Plug the monitor back in, and if necessary, edit /etc/fstab to remove the entry. Mount it manually later.
If things are going wrong with a disk, messages about it will be logged. You can view the log using:
sudo dmesgTo run a diagnostic on a drive, use SMART:
sudo apt-get install smartmontools
sudo smartctl -H /dev/sda # Health
sudo smartctl -i /dev/sdb # Full info
More: https://www.linuxtechi.com/smartctl-monitoring-analysis-tool-hard-drive/
And when it all goes wrong - which it will - you can use testdisk to retrieve lost data and copy it to a new disk:
sudo apt install testdisk
sudo testdisk
More: https://www.tecmint.com/recover-deleted-files-using-testdisk-in-linux/
Once you have your network drives, you can share them to any application at all on any laptop or other device.
Important: make sure the files and directories on your external drives are owned and/or accessible by a user or group the software they are needed by. If your user is "dave", make sure everything on the disk is owned by "dave". Linux is strict and won't let you read them otherwise.
Jellyfin On The Head-End: Putting It All Together
So now, we have:
- Live TV streams broadcasting onto the network via multicast;
- 20TB of network storage for movies and music.
We need some way of viewing the streams and files. One dashboard place to access them all. We have a few ways to do this with a media server:
- Kodi
- Plex
- Emby
- Universal Media Server
- MediaPortal
- Stremio
- Jellyfin
Kodi is old, cumbersome, and ugly. Plex is clunky and requires a subscription. Emby, likewise is paid and private. The rest are just ugly and buggy. Only Kodi and Jellyfin can talk to HDHomeRun.
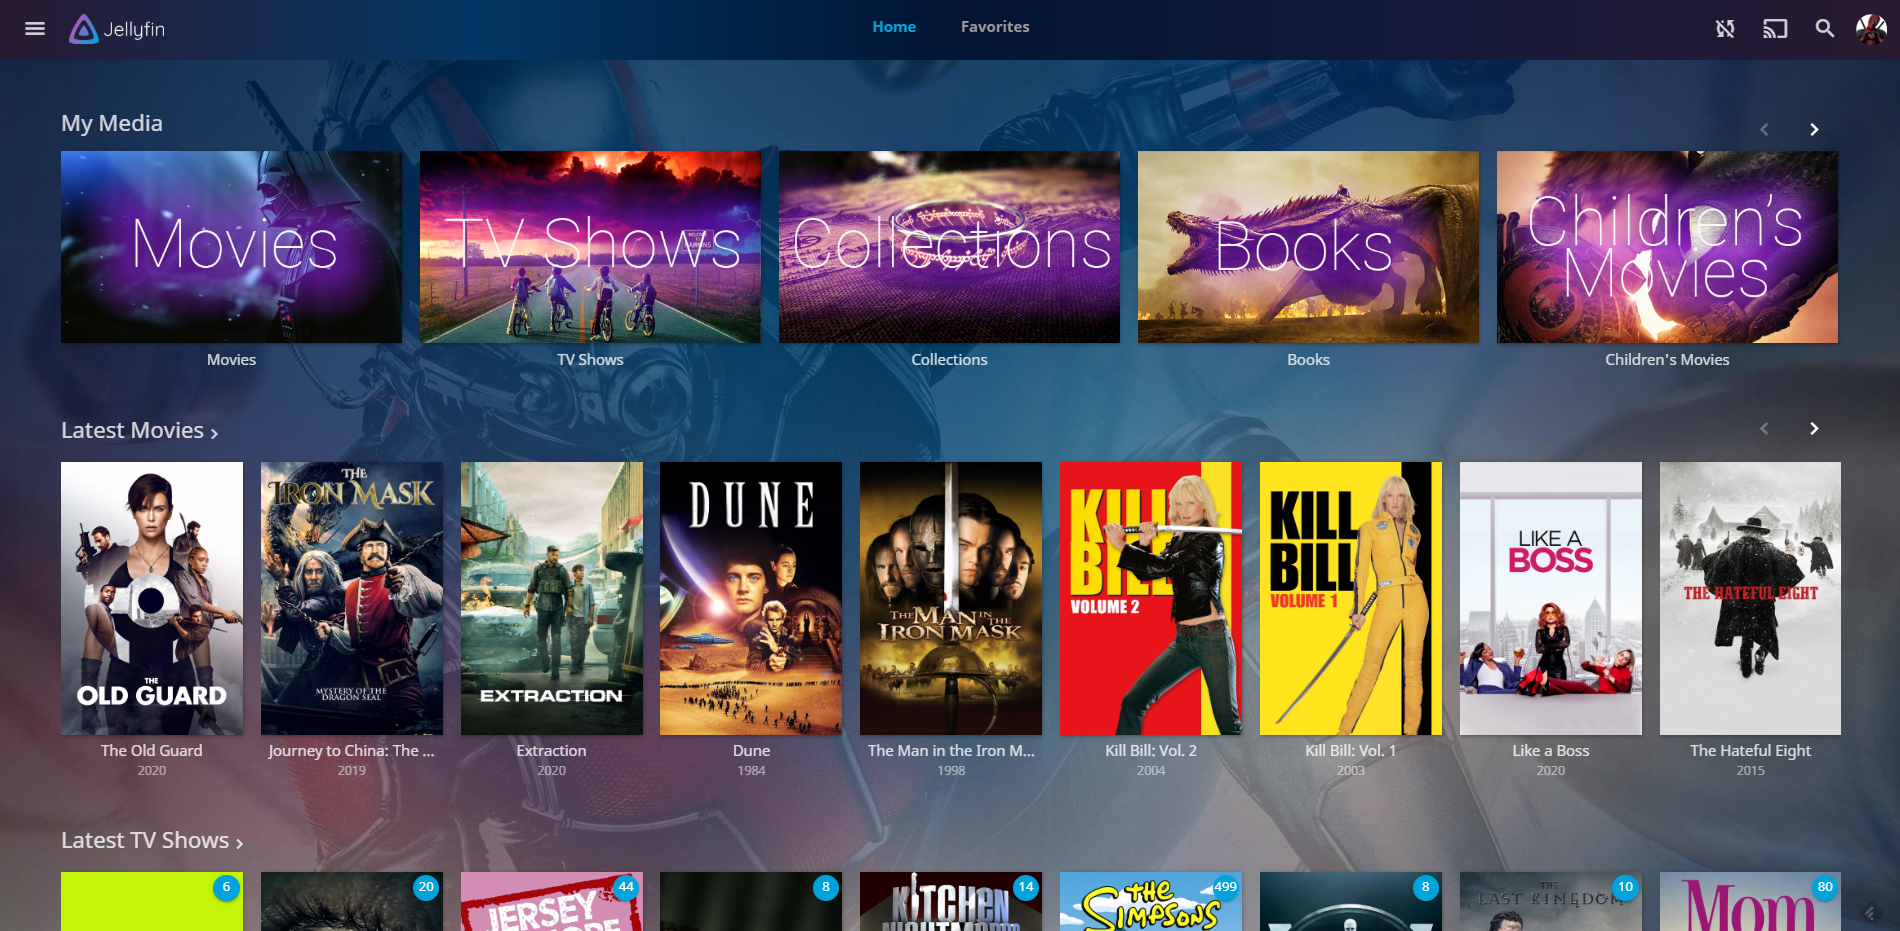
Jellyfin (https://jellyfin.org/, currently on version 10.7.7) shines through. It's a new candidate which came onto the market in 2018 as a fork of Emby, after that went closed-source. Emby is written in .Net (?) but claims to be cross-platform, working in the same freemium model as Plex.
For developers, it has an API, but there is no documentation (https://www.reddit.com/r/jellyfin/comments/g3ksve/jellyfin_api_full_documentation/). It is Emby's API, so to find out how to use it, consult those docs instead: https://github.com/MediaBrowser/Emby/wiki
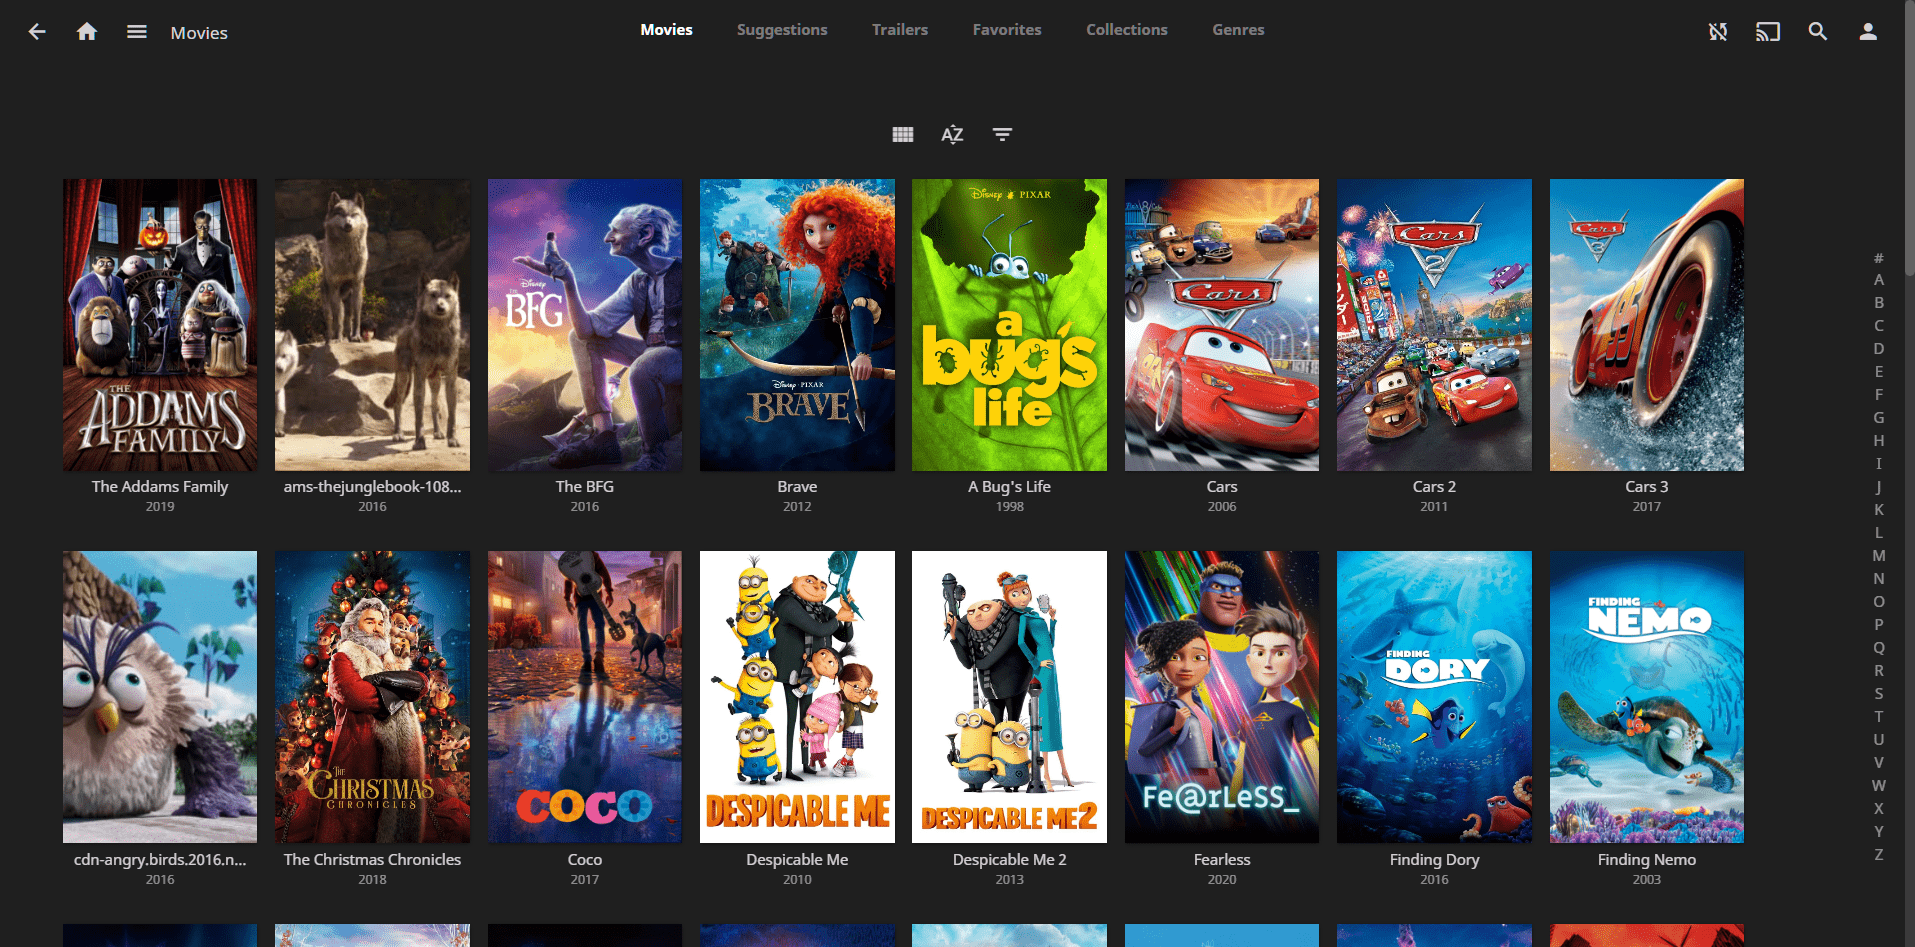
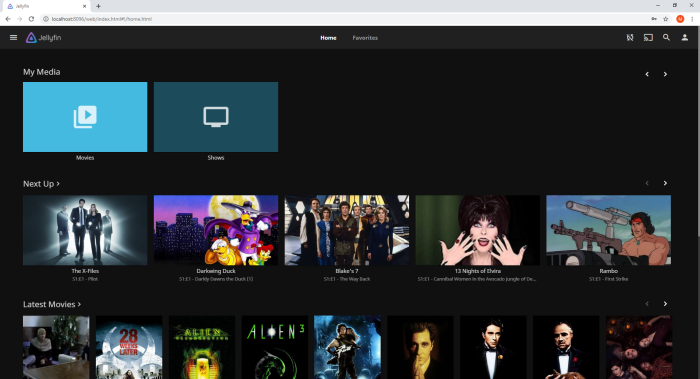
It looks great, and allows you install different themes.
Installing it on our mini-PC is trivial. First, let's install Docker:
# install Docker

curl -fsSL https://get.docker.com -o get-docker.sh
sh get-docker.sh
And it's shortcut tool, Docker Compose:
# Install Docker Compose

sudo sh -c "curl -L https://github.com/docker/compose/releases/download/1.6.2/docker-compose-`uname -s`-`uname -m` > /usr/local/bin/docker-compose"
sudo chmod +x /usr/local/bin/docker-compose
Instructions: https://jellyfin.org/docs/general/administration/installing.html
Next, create a configuration file under /srv:
sudo nano /srv/docker-compose.ymlAnd add the following:
version: '3'

services:

    jellyfin:
      image: jellyfin/jellyfin
      restart: unless-stopped
      group_add:
        - 109
      privileged: true
      network_mode: "host"
      devices:
        # VAAPI Devices
        - /dev/dri/renderD128:/dev/dri/renderD128
        - /dev/dri/card0:/dev/dri/card0
      volumes:
        - /srv/jellyfin/config:/config
        - /srv/jellyfin/cache:/cache
        - /srv/jellyfin/media:/media
        - /srv/jellyfin/media2:/media2:ro
        - /mnt/my-new-drive/:/usb-drive:rw
Important: note how we've had to specify system devices Docker can have access to. This is because Docker is a containerised environment, and deliberately isn't allowed to talk to anything outside its own sandbox.
To start and stop:
cd /srv
# Start Jellyfin in background/daemon mode
docker-compose up -d jellyfin
# To see the logs
docker-compose logs jellyfin
# Stop Jellyfin
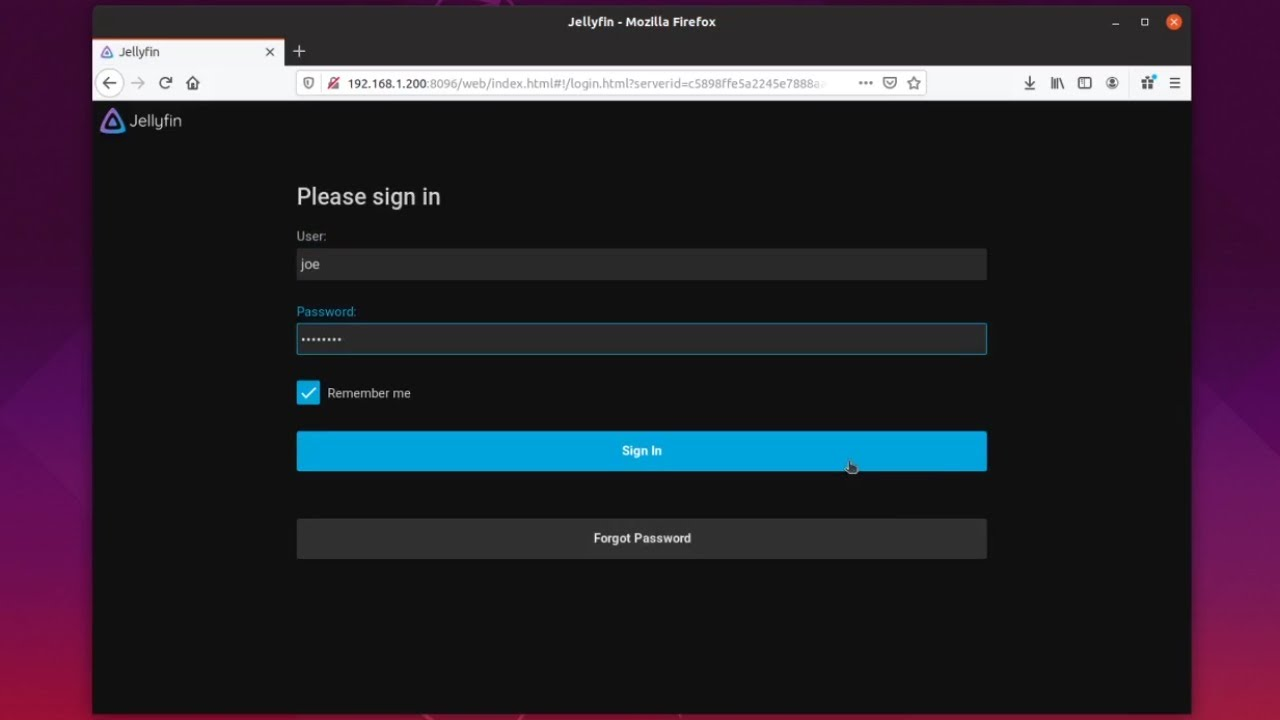
docker-compose stop jellyfinYou can then visit http://myserver:8096/ or http://192.168.0.2:8096 (where "2" is your machine IP) to get in there, create a local account, and start configuring.
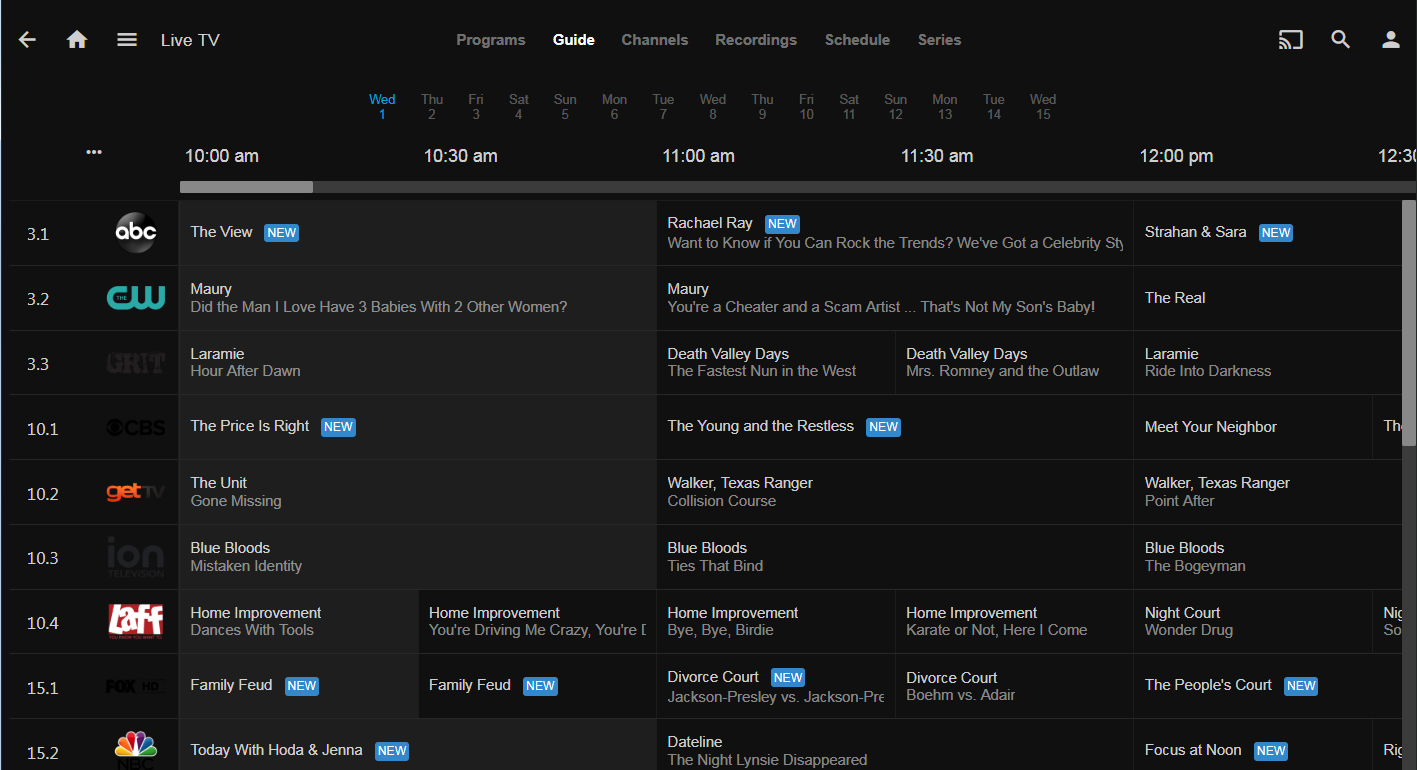
Under Live TV, we can tell Jellyfin how to connect to HDHomeRun's API so it can stream from our antenna.
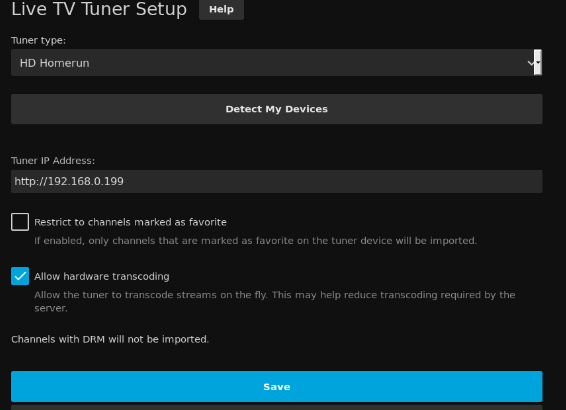
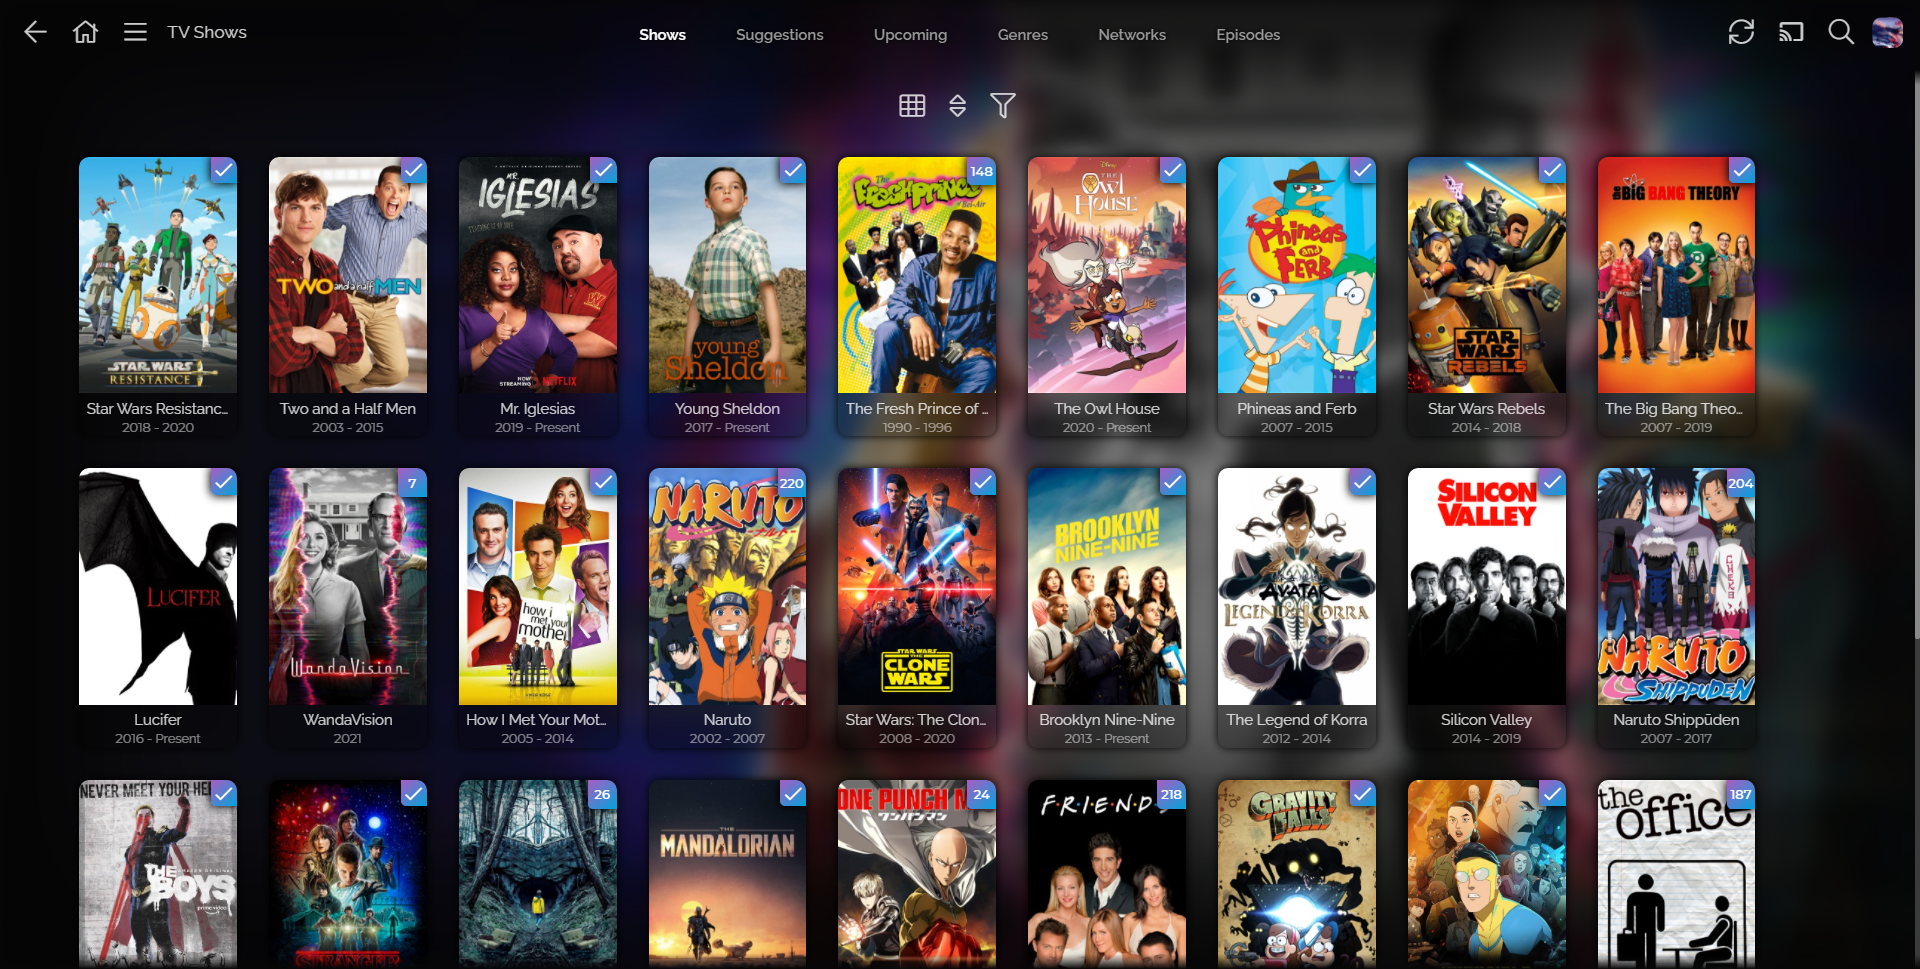
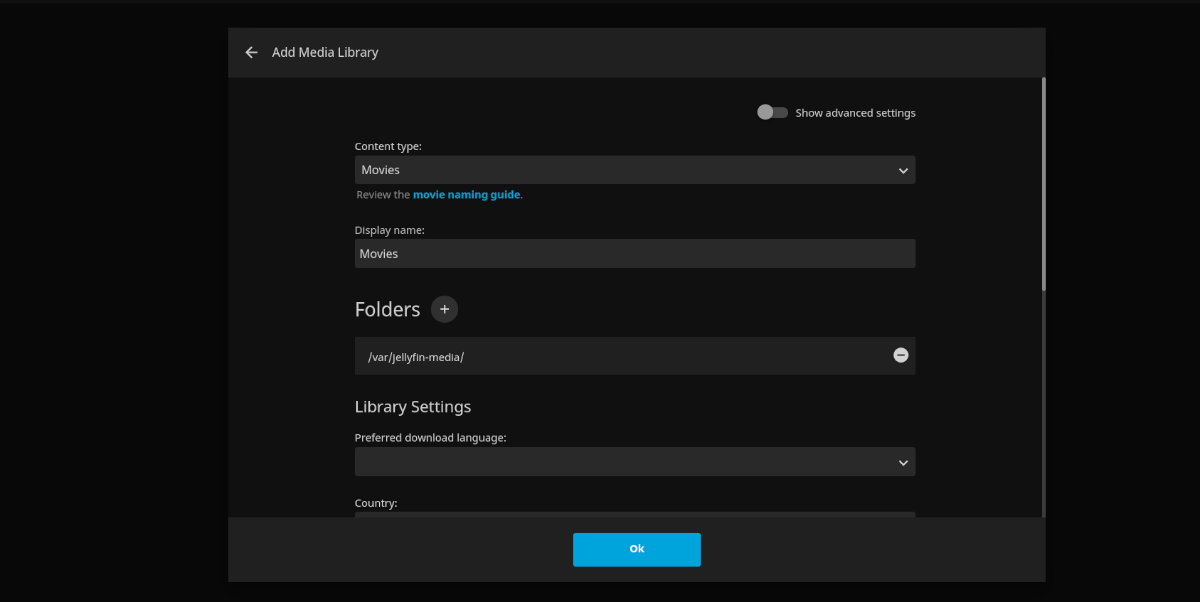
And we can point media library collections to our shared folders on our NAS or external USB drives as if they were a local/internal folder on the mini-PC. Under folders, we just specify /mnt/my-new-drive as the location.
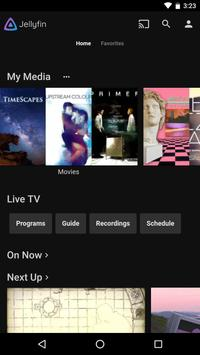
Laptops can connect to the server's web address over the Wifi:
Guests who connect onto the Wifi can download the Jellyfin app for iOS/Android and enter the server address you give them, and even use their own account:
On our Roku and Fire TV units, we can simply install the Jellyfin apps from their app stores:
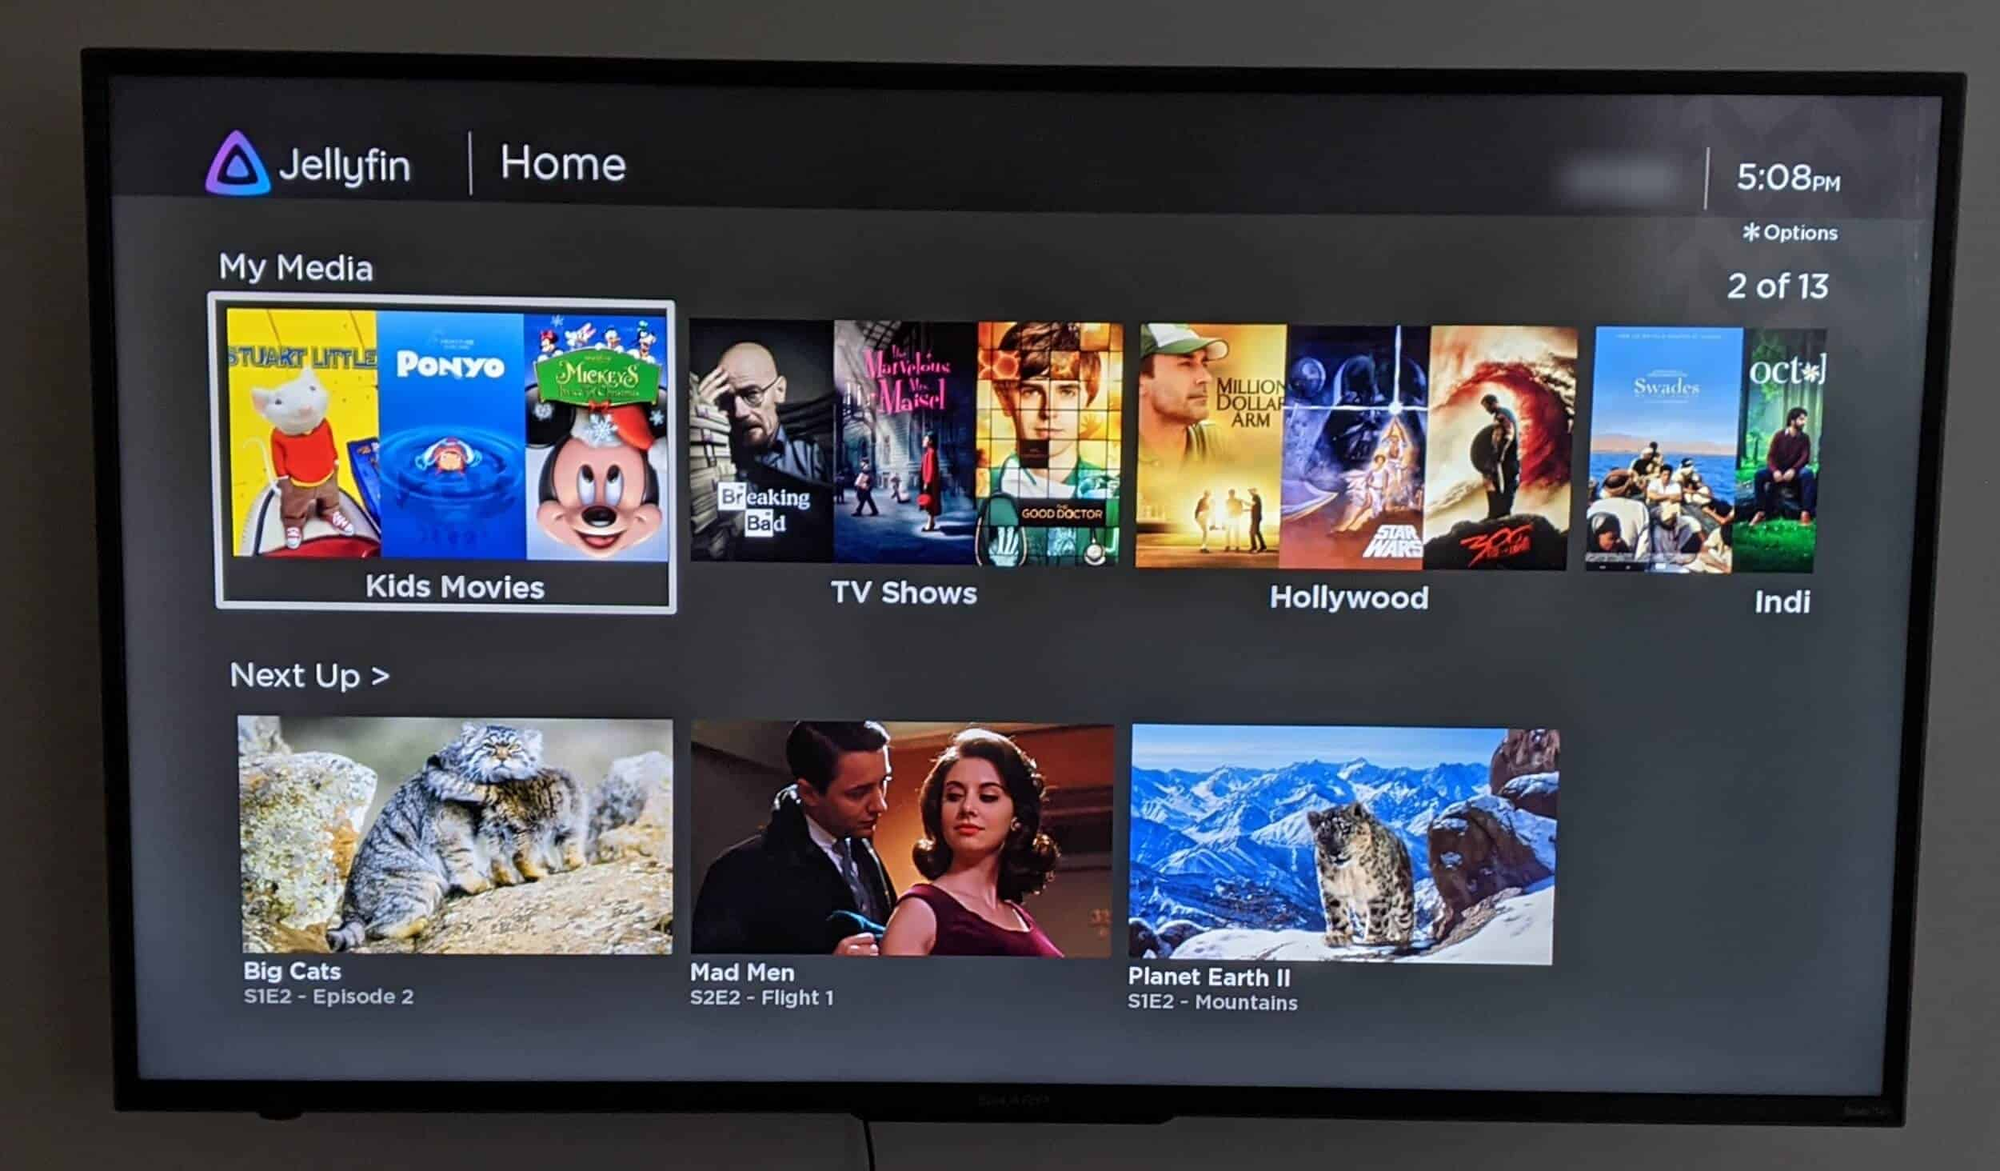
However, there are also some serious pitfalls when working with Jellyfin.
Be extremely careful with folder naming.
Jellyfin is not flexible with directories and files. Its name resolution service is not as solid as you might expect and doesn't "guess" well. Metadata is stored in a SQLite file.
See: https://jellyfin.org/docs/general/server/media/shows.html
Ensure a year is in the file name for movies, and in a folder name for shows,
A file called "Some.Film.Extended.Directors.Cut" won't be recognised and will need to be manually identified. You will need to rename it manually so it contains the exact name of the movie in IMDB and its year in the first half of the file name.
Show folders must have the date of the series in the folder name and have to be set up like so:
Shows
├── Series (2010)
│   ├── Season 01
│   │   ├── Episode S01E01-E02.mkv
│   │   ├── Episode S01E03.mkv
│   │   └── Episode S01E04.mkv
│   └── Season 02
│       ├── Episode S02E01.mkv
│       └── Episode S02E02.mkv
You cannot use "So1", or "01", for example. If your subfolder is named "Series (2010) Season 01" it will send the resolver engine into a recursive loop which breaks the menu.
Make sure all of your subfolders are set up properly before adding them to a collection. Check them afterwards, as the episode data can be very wrong.
HDHomeRun channels don't have logos. Episode information for shows has problems with API providers.
Many clients have unaddressed bugs.
Jellyfin is an open-source volunteer project. Its contributors aren't paid, so you have to be a bit patient with bugs.
Streams sometimes don't start, or connect. It's not common enough to stop you using it, but it does happen.
HDHomeRun streams on FireTV refuse to load with strange exceptions: https://github.com/jellyfin/jellyfin/issues/1391
Bonus Points: Mopify & Volumio
Jellyfin can do music as well as movies and TV, but what if you wanted a private Spotify? Audiophiles have been going down this route for some time. In many cases, the music player on Jellyfin will be enough.
But let's say you wanted synchronised audio through different rooms, or wanted to control your stereo from another room with a remote control?
For that, you will need a Music Player Daemon (MPD) server. An MPD server can be thought of as a "broadcaster" server which streams playlists of music onto the network like your own radio station. You remote control them with MPD clients, which can be a web or phone app.
A useful scenario for this is the Office DJ idea, where people in a workplace can share remote control of a speaker in the room.
Mopidy plays audio through the computer's hardware speaker port. It is not a streaming server which plays different music for different people.
The best known is Mopidy:
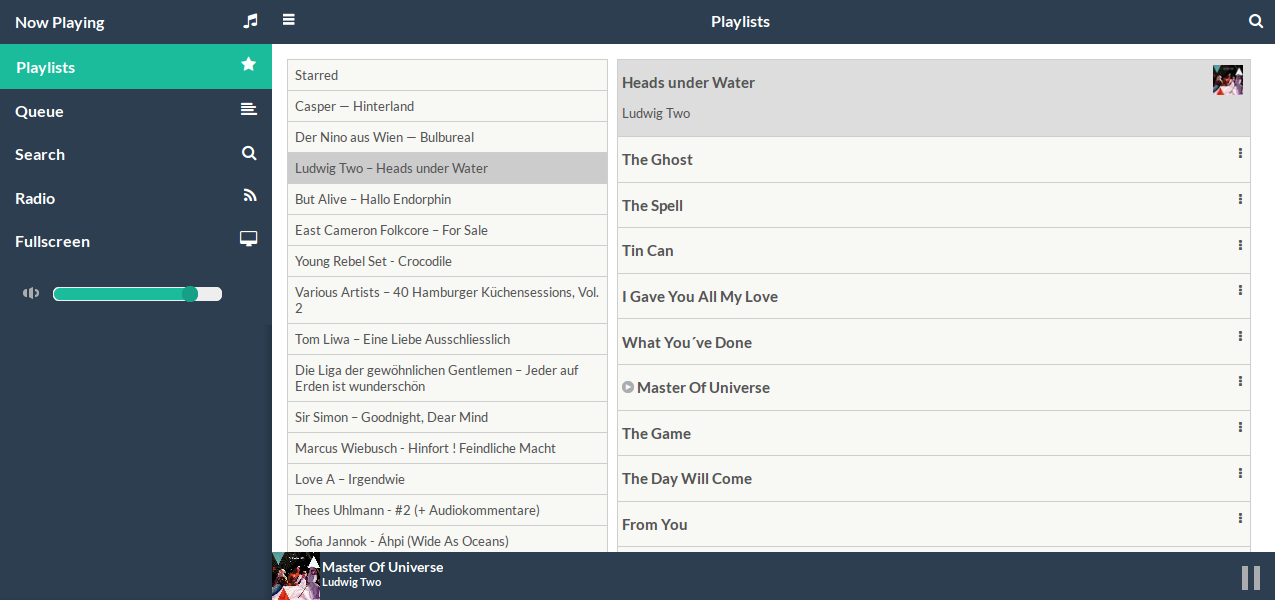


More: https://mopidy.com/
There isn't currently an official Docker image for it, but you can install it by inserting the following into your docker-compose.yml file:
version: '3'

services:

    mopidy:
      image: jjok/mopidy
      restart: unless-stopped
      devices:
        # Audio Devices
        - /dev/snd:/dev/snd
      ports:
        - 6600:6600
        - 6680:6680
To start and stop:
# start Mopidy
docker-compose up -d mopidy

# stop Mopidy
docker-compose stop mopidy
To synchronise audio between rooms, you can use Snapcast: https://github.com/badaix/snapcast
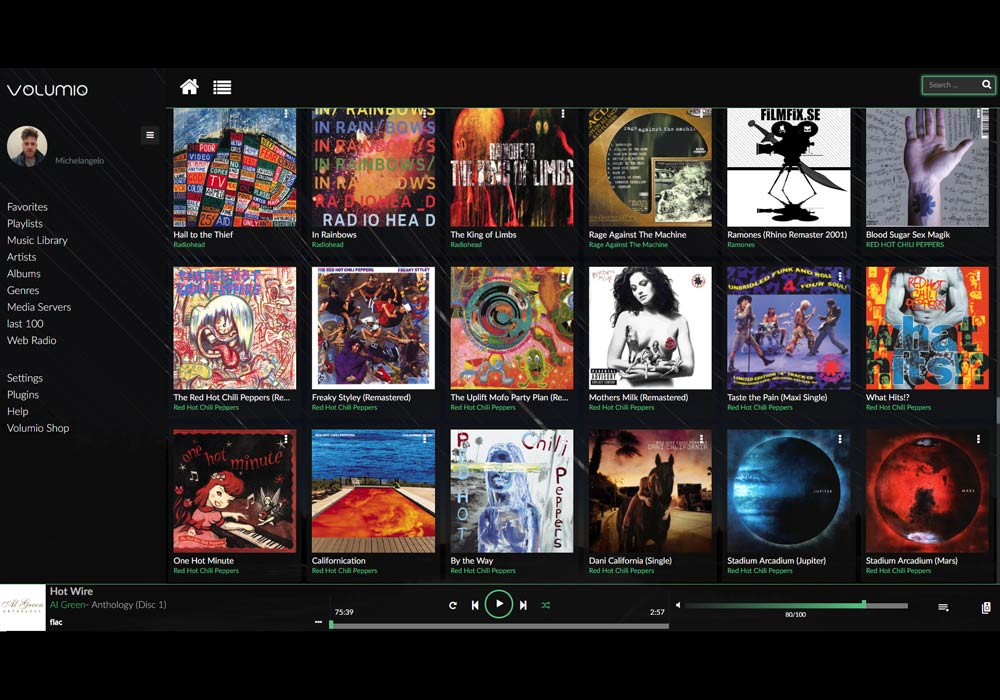
But what if you want something more Spotify-like? That's where Volumio comes in.
Instructions:
- https://volumio.com/en/get-started/
- https://cdn.volumio.com/wp-content/uploads/2021/09/Quick-Start-Guide-Volumio.pdf
Simply point the library at your shared network folders.
Volumio is slightly more complex to install as it requires access to your mini-PC's PulseAudio server in most circumstances, but a standard Docker configuration is as so:
    volumio:
      image: jbonjean/volumio
      privileged: true
      group_add:
        - 29
      environment:
        - HOST=http://yourserver:3000
        - PULSE_SERVER=unix:/pulse/native
        - PULSE_COOKIE_DATA=/root/.config/pulse/cookie
        - HOST_USER=1000:1000
        - AUDIO_OUTPUT=pulse
      volumes:
        - /home/youruser/.config/pulse/cookie:/root/.config/pulse/cookie
        - /mnt/my-new-drive:/var/lib/mpd/music:ro
        - /srv/volumio/data:/data
        - /home/user/.config/pulse/65d24b82c2ef463bb07754908964640c-runtime:/pulse:ro
      ports:
        - 3000:3000
      devices:
        - /dev/snd:/dev/snd
      restart: unless-stopped
To start and stop:
# start Volumio
docker-compose up -d volumio

# stop Volumio
docker-compose stop volumio
Volumio has apps for iOS and Android, which it calls "Hotspot".
- https://play.google.com/store/apps/details?id=volumio.browser.Volumio
- https://itunes.apple.com/app/volumio/id1268256519?mt=8
Important: Volumio runs by port 80 by default. If you want it to run on something else, you will need to specify a different one or use a reverse proxy.
Following Up: It's Worth The Time
It should take a day or two to set up, once you have the equipment. It all starts with your plan of what you want to achieve: music in all rooms, cutting the cord, saving on bills etc.
But why do all this? Well, there are plenty of reasons:
- It's yours. You own and control the setup.
- Big Tech surveillance and gatekeeping is out of your life.
- It works offline without an Internet connection.
- You can use it for private family home videos and photographs.
- It's exhilarating to build it yourself.
- You can browse just your favourite things and not have to comb through 3000 titles of woke garbage to find something watchable.
- You can control what your kids are exposed to.
- You save money in the long-term.
- It expands your creativity in your home and your tech knowledge.
- It makes you free to opt out but not lose out.
Apple, Netflix, Spotify, Google, and Amazon want to tell you what you can see, and tell artists what they can produce. Their business models are predicated on trafficking in your private data as well as using it to peddle confirmation bias/filter bubble political groupthink into your home in order to control your perception of reality itself.
This would have been an unthinkable thing to say a few years ago, but the increasing usage of "walled gardens" and perverse nonsense like the "Metaverse" shows just the path these hubristic maniacs are wandering down in their search for power.
Do you really want to give money to people who make shows like "Cuties" or employ adult children demanding Joe Rogan is silenced - when you don't have to?